A Parking Lot Surprise: My SUV Got Scratched
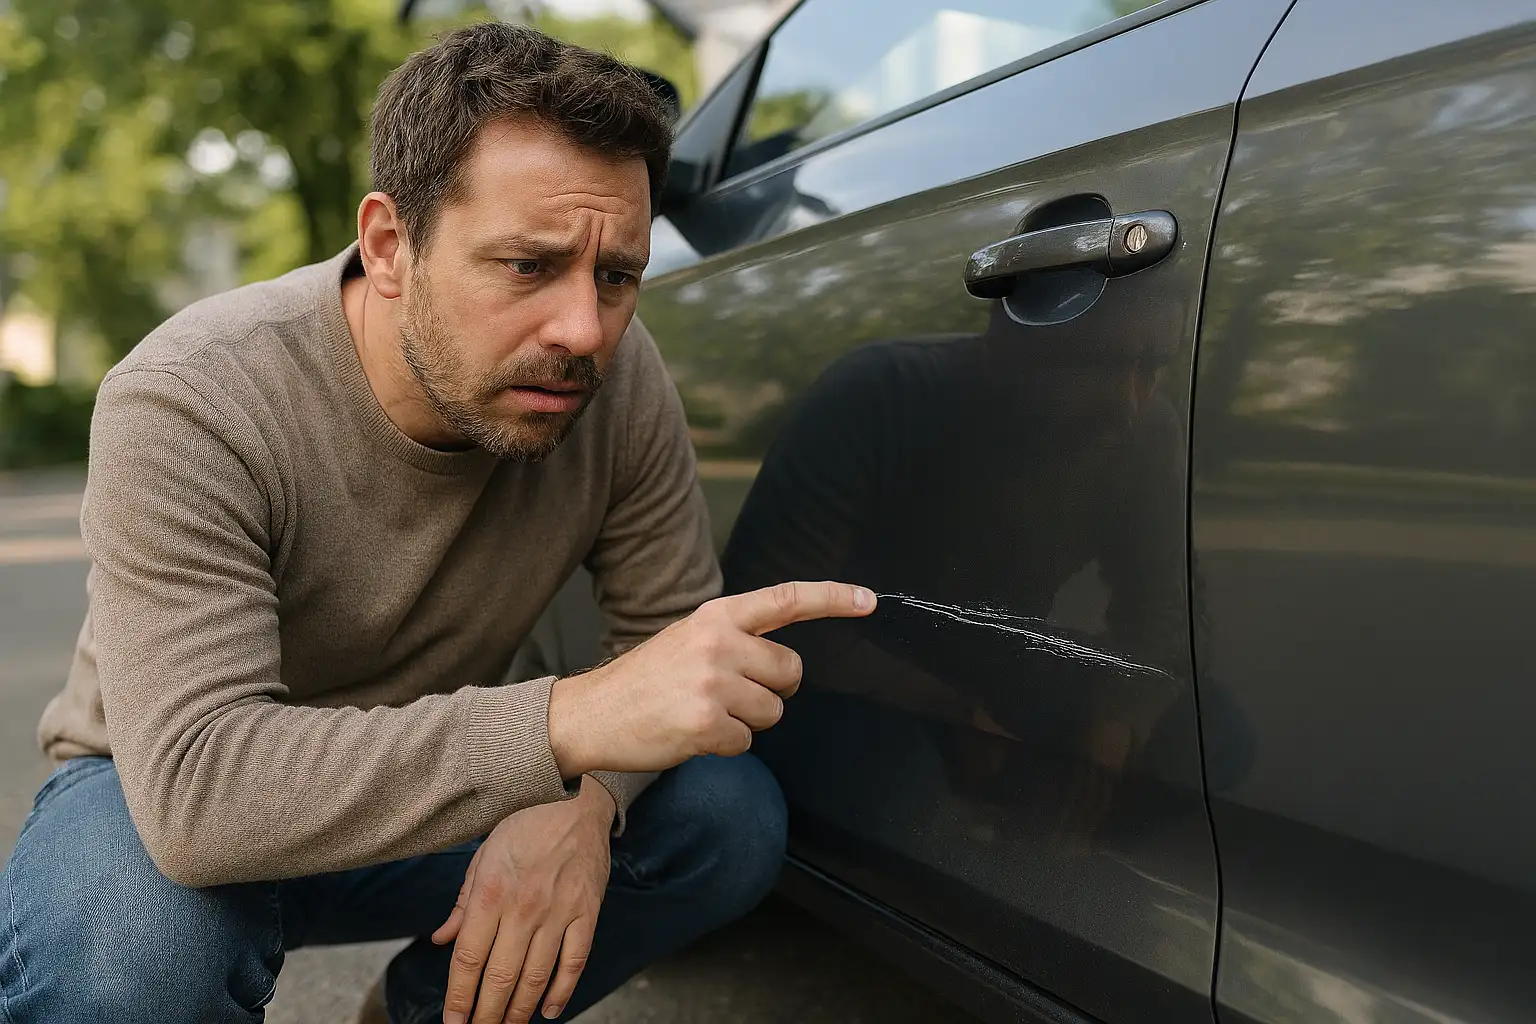
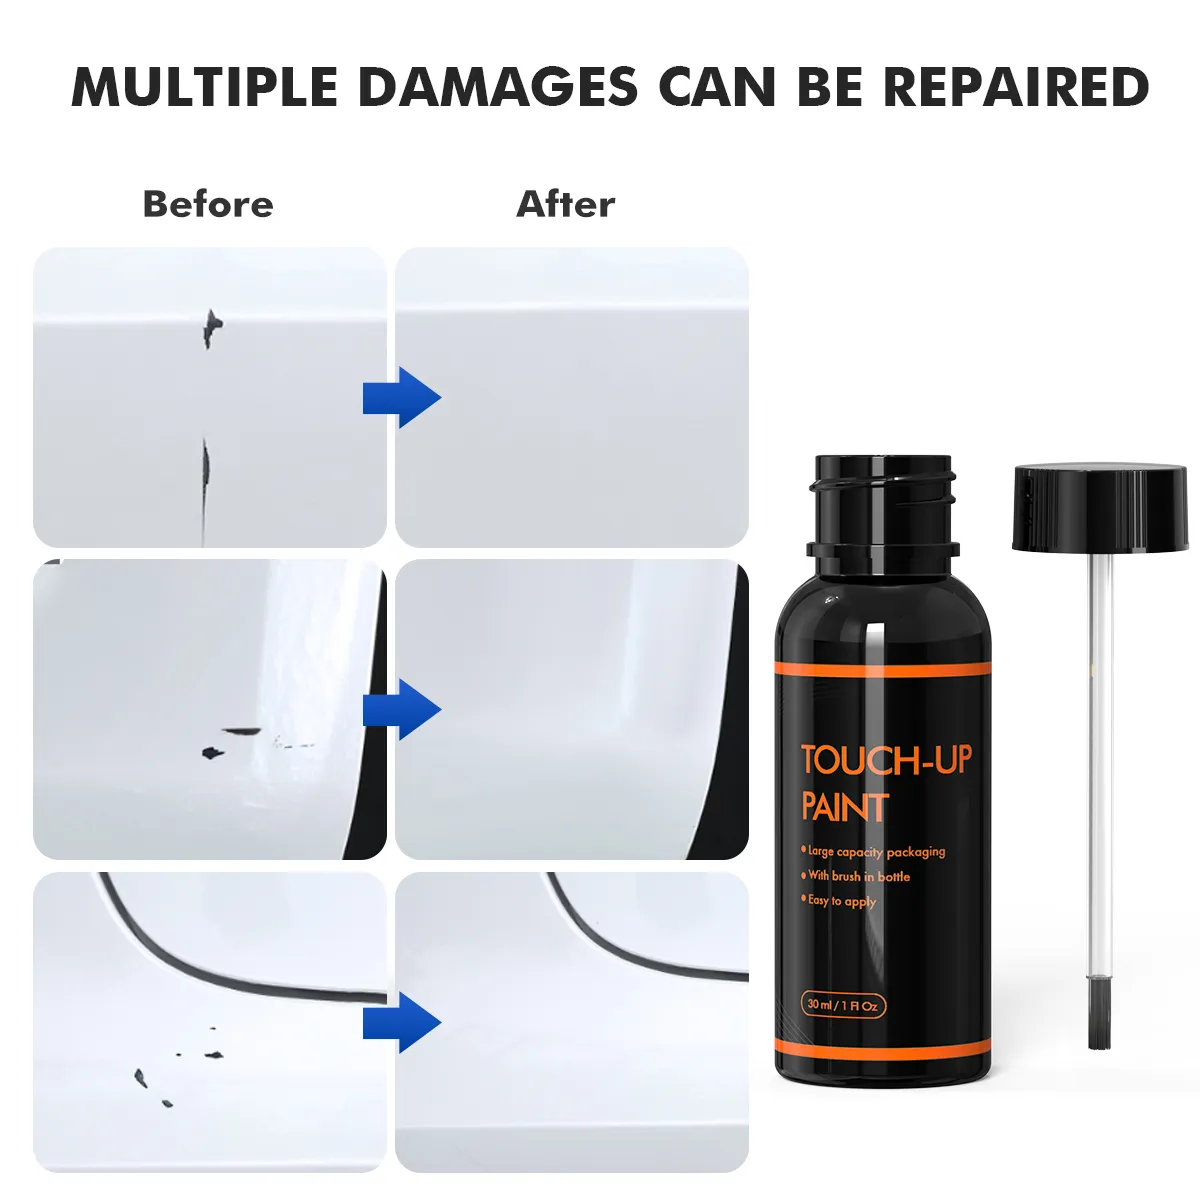
Car paint touch ups might seem intimidating at first, but it was a bright Saturday morning when I returned to my SUV after grabbing coffee. To my dismay, I noticed a shallow scratch along the rear door. My heart sank. Anyone who has experienced this knows the panic of seeing your car’s perfect finish suddenly marred. I immediately reached for my touch up paint kit from xtryfun and prepared to fix it. For a visual guide, watch our YouTube video tutorial.
Small scratches like this are extremely common: shopping carts in tight parking spots, gravel flying off highways, even automated car washes can leave small marks. If left untreated, they can oxidize or rust, worsening over time and damaging the car’s value. Using the car scratch touch up paint method helps prevent long-term damage.
Even minor scratches can be repaired using a proper auto touch up paint kits, which are designed for precise, clean results.
Why xtryfun Stands Out for DIY Repairs
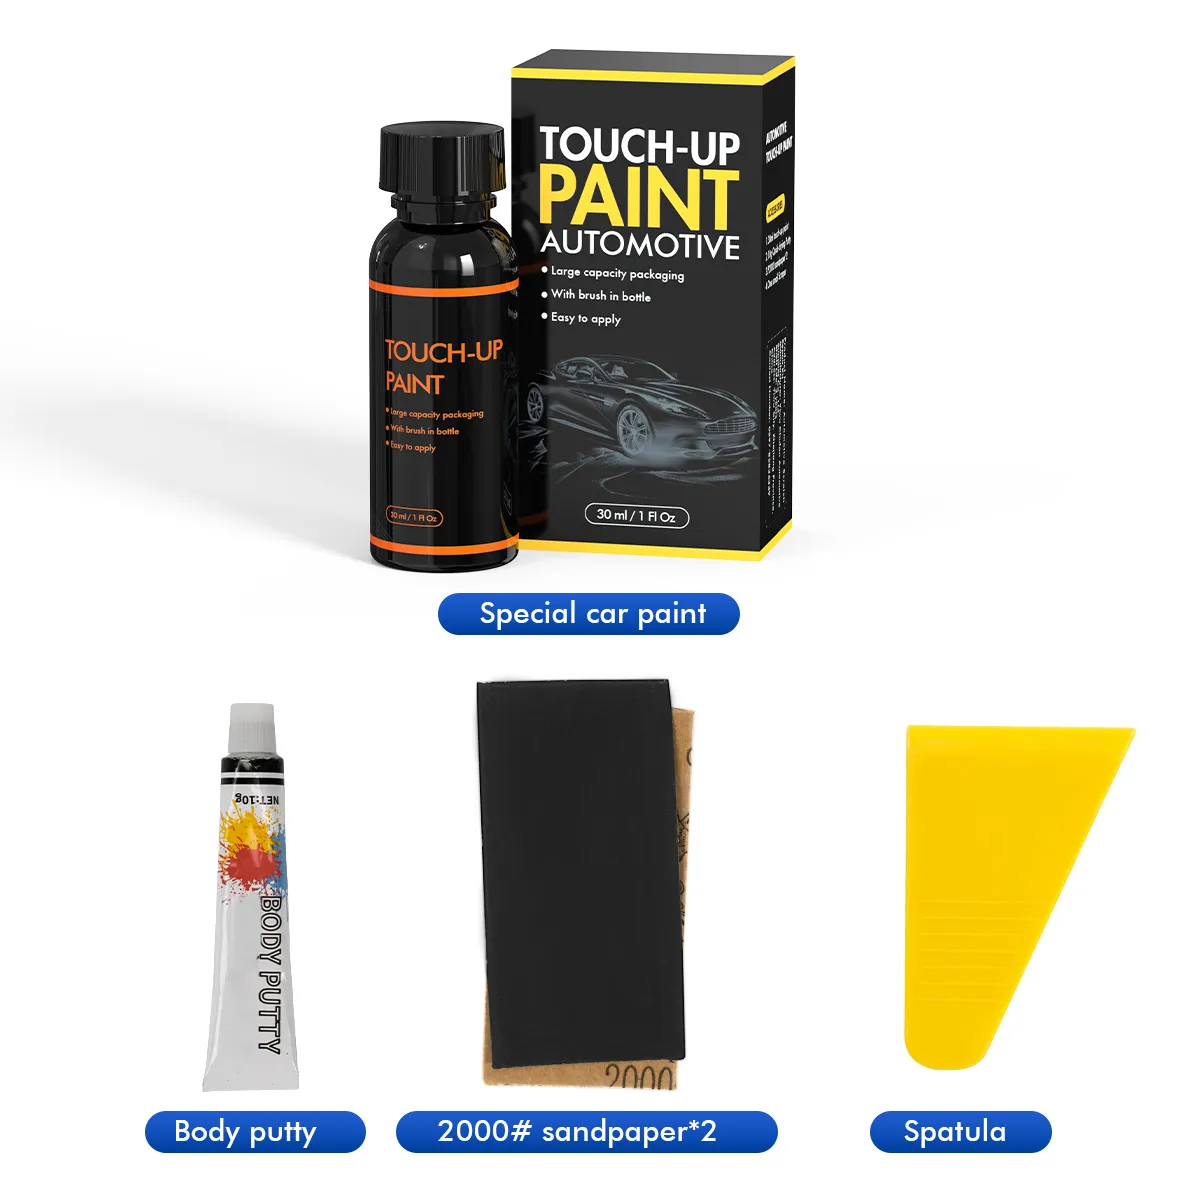
Over the years, I tried spray cans, pen kits, and professional repair shops. But for small, precise repairs, nothing compares to the touch up paint kit from xtryfun. It’s not just a paint bottle—it’s a complete system designed for DIY car owners seeking professional results at home.
The kit includes a 30ml bottle with a built-in brush, sandpaper for prepping the surface, a spreader for smooth application, and a small filler tool for deeper scratches. This one set contains everything you need, eliminating the hassle of buying multiple tools separately. Using an automotive touch up paint kit ensures every small chip is restored.
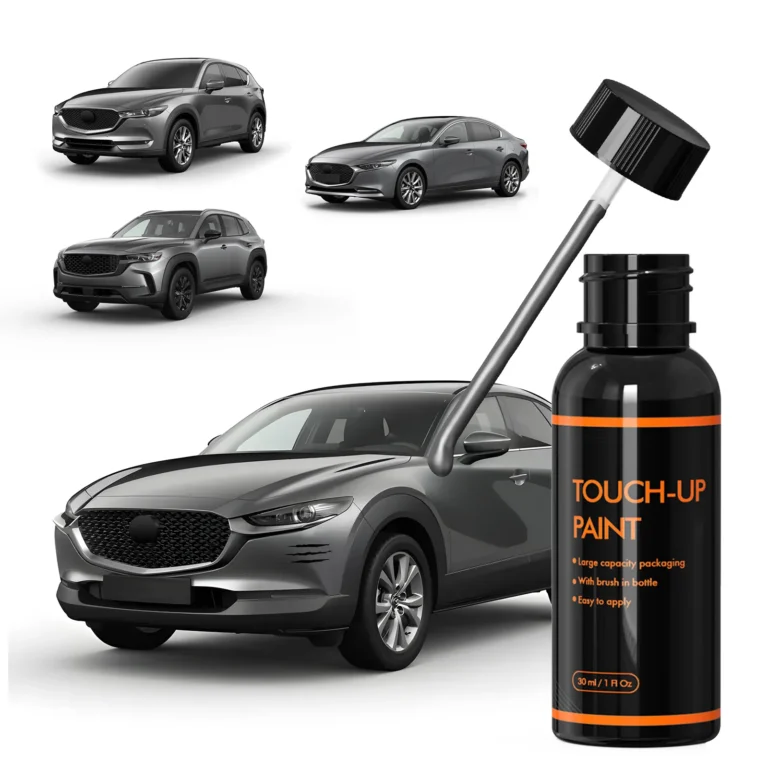
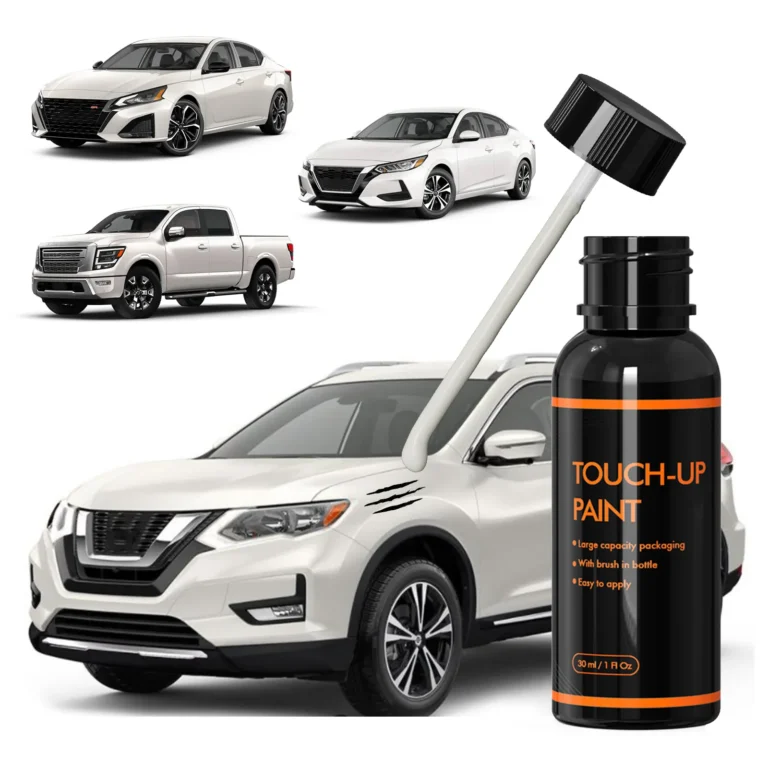
It’s also ideal for car touch up paint for scratches on multiple types of vehicles, from sedans to SUVs.
Locating Your Car’s Paint Code
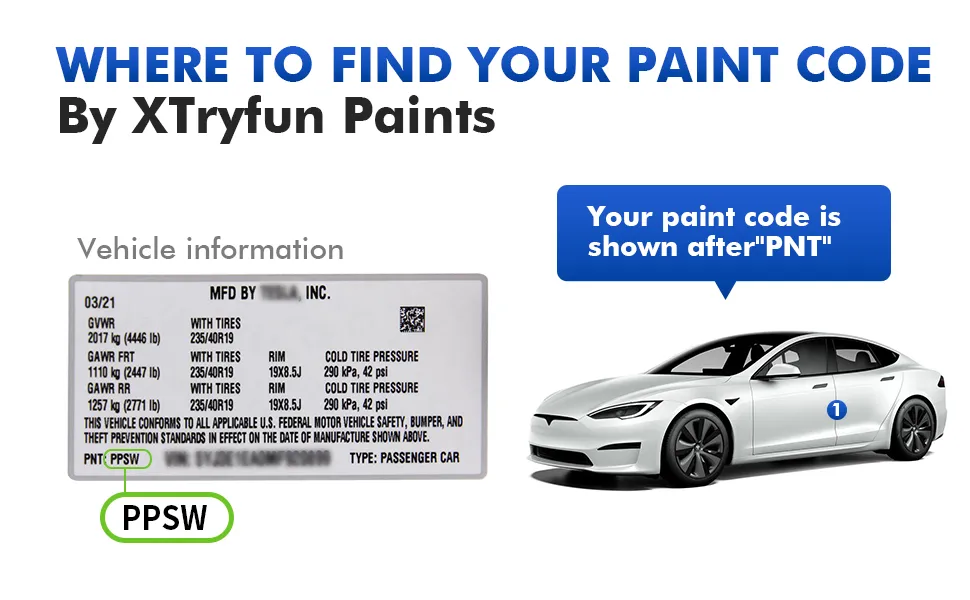
A precise color match starts with finding your car’s paint code. Usually, it’s on the driver’s side door jamb, under the hood, or inside the trunk hinge. Matching the code ensures the repaired area blends seamlessly with the rest of the car. If you’re unsure, xtryfun’s guide can help.
Using the correct code is crucial for subaru oem touch up paint or toyota touch up paint repairs to achieve perfect color match.
Preparing the Surface: The Key Step
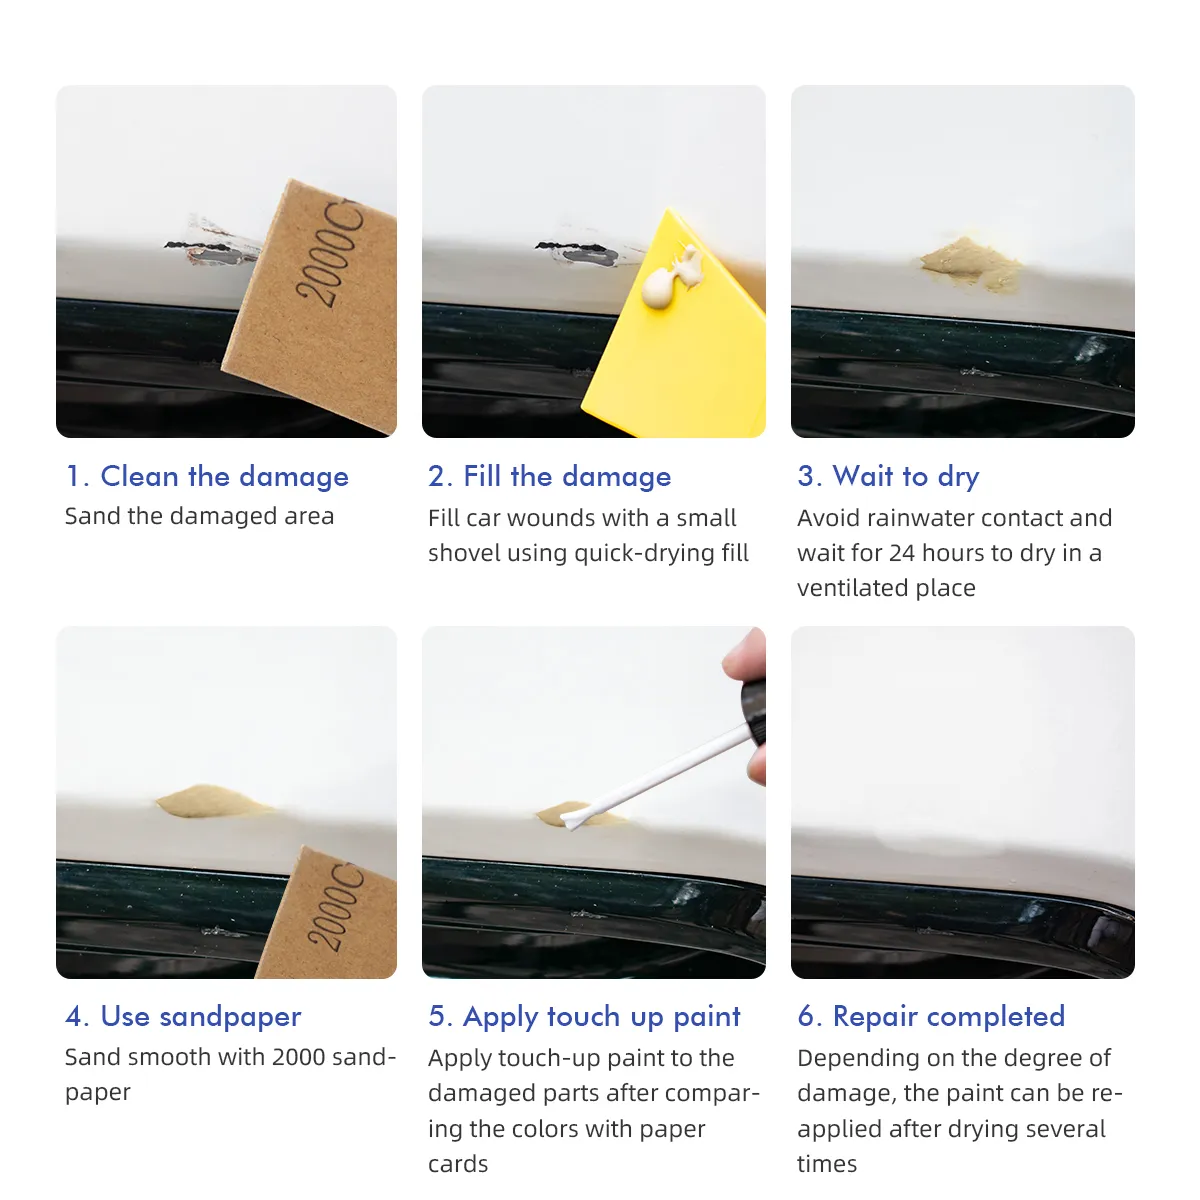
Surface prep is crucial. I first washed the scratched area thoroughly with mild soap and water to remove any dirt or grease, then dried it completely. Using the sandpaper from the kit, I gently sanded the scratch edges to remove any loose paint. This simple step significantly improves paint adhesion.
After sanding, I wiped the area with a microfiber cloth and checked under different light angles to ensure no dust or particles remained. You can see this step in action on our YouTube channel. This prep is essential for any touch up paint kit application.
Applying the Paint in Thin, Controlled Layers
After shaking the paint bottle thoroughly, I applied thin coats using the built-in brush. For shallow scratches, one to two layers were sufficient. For deeper chips, I first used the filler tool to level the surface, then applied multiple layers of paint. Each layer dries in about 30 minutes, with a full 24-hour cure for durability.
For Subaru owners, using subaru oem touch up paint or touch up paint for subaru ensures perfect OEM color matching even on deep scratches.
High-Speed Gravel and Summer Road Trips
During a recent summer road trip, my sedan’s hood picked up several small chips from high-speed gravel. I used toyota touch up paint to restore them. The precise brush and quick-dry formula made the repair effortless, even on larger, elevated surfaces.
Working in the shade also helped the paint settle evenly and prevented tiny bubbles or streaks from forming. This method works well with auto touch up paint kits for all vehicles.
Winter Salt Damage on Subarus
Winter roads are harsh. A friend’s Subaru had multiple scratches after a snowy season. Using subaru oem touch up paint and touch up paint for subaru, each scratch was filled and blended seamlessly. The repaired areas resisted moisture and stayed flawless throughout winter.
BMW Trunk Edge Wear
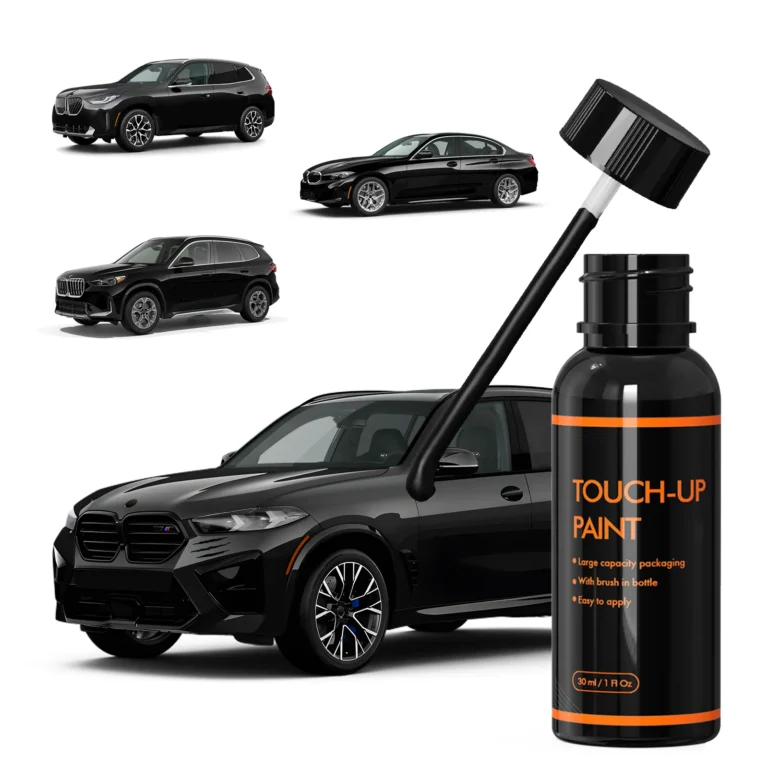
A BMW owner noticed wear along the trunk edge and rear bumper. Using bmw touch up paint kit, the edges looked factory-new. The thin brush allowed precise coverage in tight corners, showing the advantage of a complete touch up paint kit over ordinary spray cans.
Professional DIY Tips
- Use multiple thin layers instead of one thick layer to prevent drips.
- Ensure the surface is clean, dry, and lightly sanded before painting.
- Work in a shaded or indoor area to prevent uneven drying.
- Inspect repairs under different lighting to ensure natural blending.
- Take your time; rushing can cause mistakes.
- For deep scratches, use the filler tool first for a smooth base before applying paint.
Tesla Color Repair Challenges
Tesla owners often face metallic or pearlescent paint matching issues. tesla paint kits provide precise 1:1 color matching. A friend’s hood and fender repairs were virtually invisible even in direct sunlight.
This is also a perfect example of using auto touch up paint kits for challenging metallic finishes.
Avoiding Common Mistakes
- Thick coats: always apply multiple thin layers.
- Skipping prep: clean and sand before painting.
- Wrong color code: verify using xtryfun guide.
- Rushing: wait at least 30 minutes between layers.
- Skipping filler: use filler for deep scratches before painting.
FAQ
Q1: How long does each layer take to dry? About 30 minutes per layer; fully cures in 24 hours.
Q2: Can it be used on metal and plastic? Yes, suitable for painted metal and plastic trims.
Q3: What if I can’t find the exact color code? xtryfun helps you find the closest match.
Q4: Will the repair be noticeable? Properly applied, it blends seamlessly with the original paint.
Q5: Is the repair durable? Once cured, it is water-resistant, oxidation-resistant, and UV-protected for years.
Q6: Can it repair large scratches? Ideal for small to medium scratches; larger damage should be handled professionally.
Purchase Your Kit
Restore your car today with a complete xtryfun touch up paint kit. Achieve professional DIY results at home with all necessary tools included.
Conclusion
Small scratches are inevitable, but repairs don’t have to be complicated. With xtryfun touch up paint kit and patience, you can keep your vehicle looking pristine. Each repair is a small victory and a wise investment in long-term car care.

