Table of Contents
ToggleCar paint touch up is essential for any car owner who wants to maintain their vehicle’s appearance. Scratches and chips on your car’s paint are inevitable—but fixing them doesn’t have to be expensive or complicated. This guide will walk you through exactly how to use paint touch up on your car. Whether you’re working with Toyota pearl white touch up paint or PX8 for a Chrysler, we’ll help you get it right. We’ll also share expert tips, color matching advice, and why thousands of car owners trust XTryfun for reliable, professional-grade results.
Why Car Paint Touch Up Matters for Your Vehicle
Small paint chips and scratches might seem like no big deal, but they can lead to rust and deeper paint damage over time. Taking action early helps preserve your car’s value and appearance—plus, doing it yourself is easier than you might think.
With a quality touch up kit like those offered by XTryfun, you can restore your car’s finish at home, without spending hundreds at a body shop.
Choosing the Right Car Paint Touch Up Kit for Your Car
Match Your OEM Color Code
The key to a seamless repair is choosing the correct OEM color. You’ll typically find the code on the driver-side door jamb or in the owner’s manual. Common examples include:
- Toyota Pearl White Touch Up Paint – Color code 070
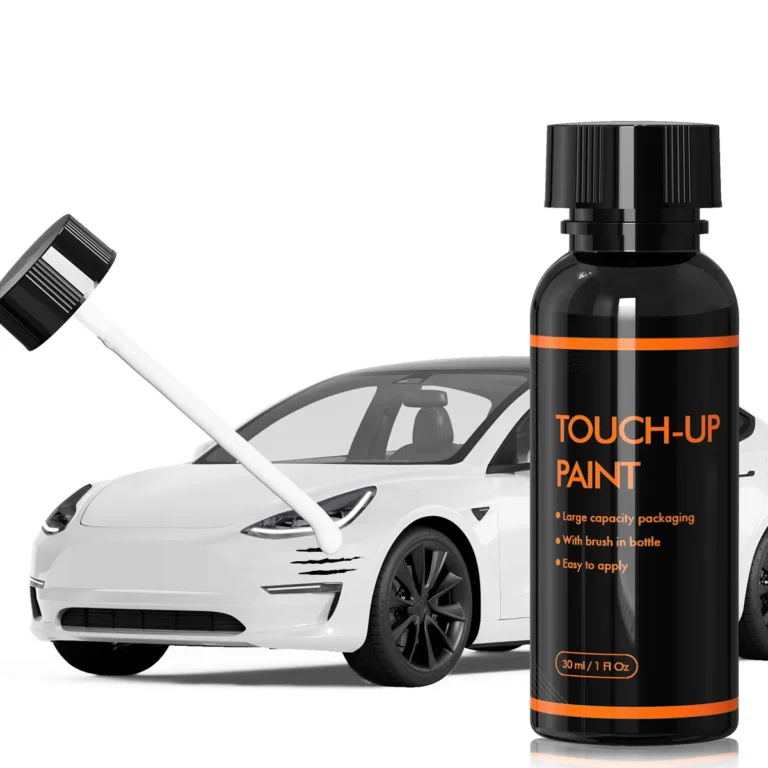
- Tesla Pearl White Touch Up Paint – Common for Model 3/Y
- PX8 Touch Up Paint – Used on many Dodge, Chrysler, and Jeep models
- NH883P Touch Up Paint – Honda’s White Orchid Pearl
- Mercedes Benz Touch Up Paint Polar White – Classic white for many Mercedes models
- GMC/GM Summit White Touch Up Paint – Used across GMC and Chevrolet vehicles
Need help finding your paint code? Check our guide on locating your car’s OEM color code.
Why Choose XTryfun?
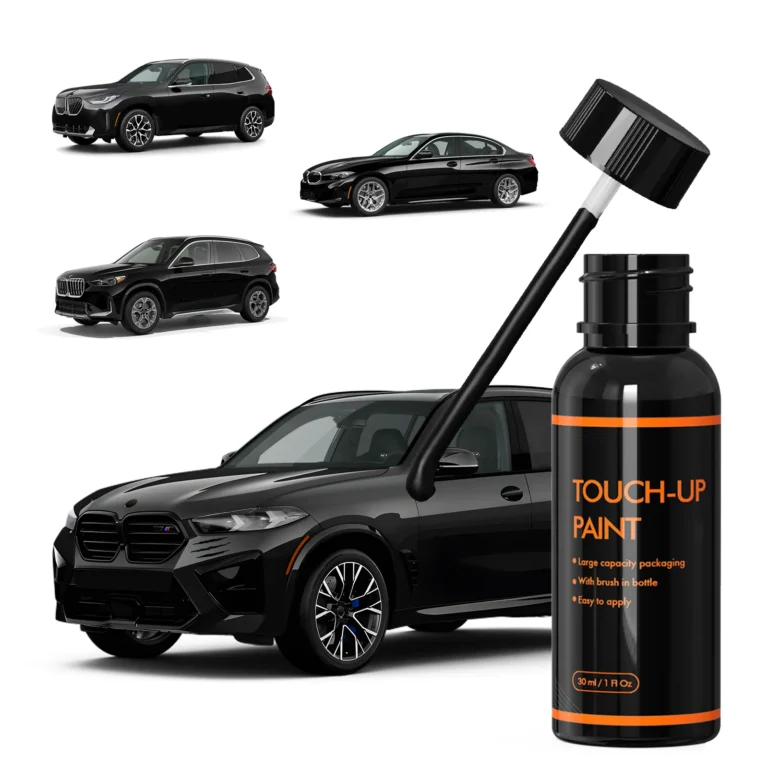
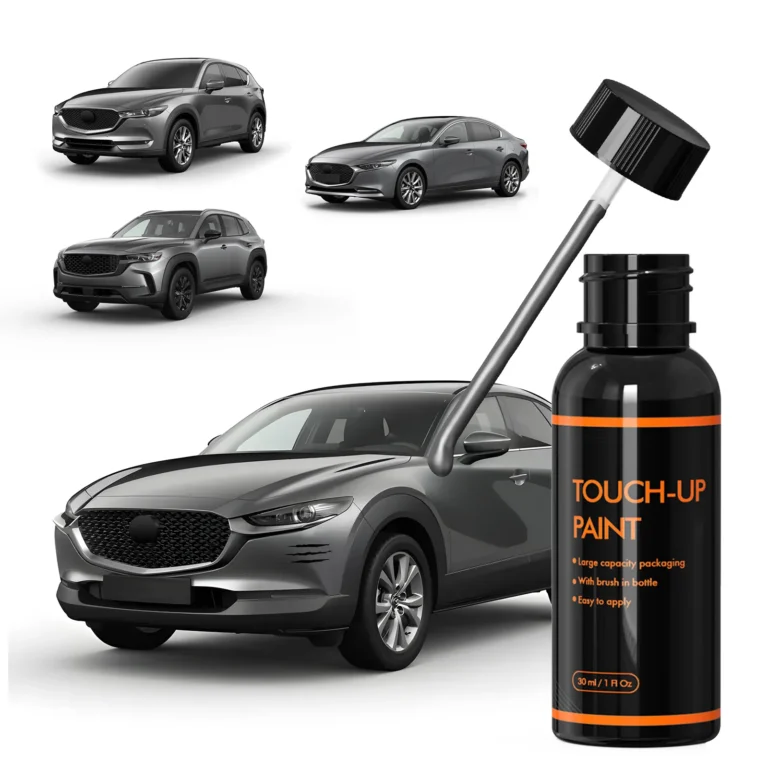
XTryfun offers OEM color-matched touch up paint kits with everything you need to get started—paint, fine brushes, sandpaper, and clear coat. Whether you’re looking for silver touch up paint or rare factory shades, our kits are tailored for precision and ease of use.
Find your perfect match today in our touch up paint store.
4-Step Car Paint Touch Up: Easy DIY Guide
Step 1: Clean the Area Thoroughly Before Car Paint Touch Up
Wash the damaged area with soap and water. Remove wax, grease, and debris with rubbing alcohol. A clean surface is essential for proper adhesion.
Step 2: Lightly Sand the Chip or Scratch for Car Paint Touch Up
Use 1500 to 2000 grit sandpaper to smooth out sharp edges. Be gentle to avoid damaging surrounding paint.
Good news: Our XTryfun kits include premium sandpaper so you’re ready from the start.
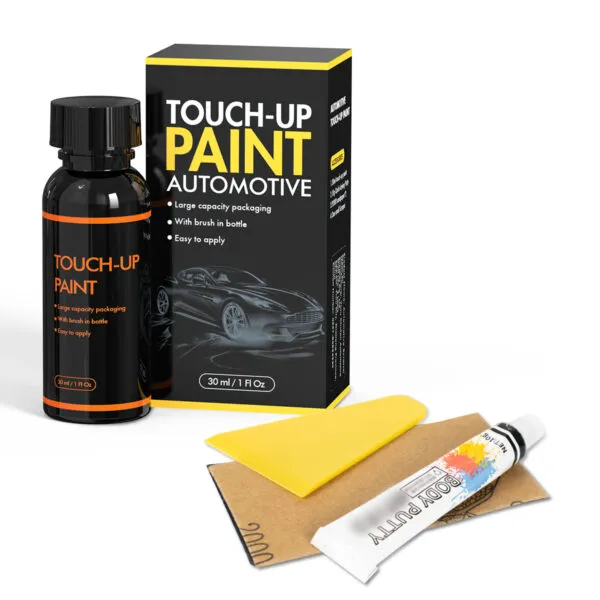
Step 3: Apply the Car Paint Touch Up Properly
Shake the paint bottle well. Use the included micro brush to apply a thin layer inside the damaged area.
Apply 2–3 light coats, letting each dry for 10–15 minutes. Do not overload with too much paint at once.
Step 4: Let It Dry, Then Apply Clear Coat for Car Paint Touch Up
After the paint dries completely, apply the clear coat to seal and protect the repair. This step adds gloss and helps blend the fix with surrounding paint.
Want a smooth, factory-like finish? Explore our application tips here.
Common Mistakes to Avoid During Car Paint Touch Up
- Using the wrong color code
- Skipping surface cleaning
- Applying thick coats all at once
- Forgetting the clear coat
- Trying to fix deep rust or dents with paint only (use filler or consult a pro for those)
Real Results with XTryfun Car Paint Touch Up Kits
Thousands of drivers—from DIY beginners to detailing enthusiasts—have successfully repaired their vehicles with XTryfun kits. Whether you’re working on a GMC truck, a Tesla, or a Mercedes-Benz, our products are trusted for quality and ease of use.
Ready to fix that scratch? Shop XTryfun OEM touch up kits now.


Final Thoughts on Car Paint Touch Up
Learning how to use paint touch up on car is a smart skill for any car owner. With the right tools, OEM-matched paint, and proper technique, you can restore your vehicle’s look quickly and affordably.
XTryfun delivers premium color accuracy and professional results—right from our official store.
