Table of Contents
ToggleProfessional touch up paint can transform visible scratches into a flawless finish. You’ve got your xtryfun touch-up paint kit, matched your car’s exact paint code, and confirmed the damage is perfect for a DIY fix. Now it’s time to walk through the process that turns a visible scratch into a flawless finish. Even first-timers can achieve up to an 85% success rate with the right tools—this guide will put you in that winning group.


Step 1: The Prep Work Most People Skip
Ask any professional, and they’ll tell you: 90% of a great touch up paint job is preparation. Most DIYers rush straight to painting, but that’s how uneven finishes and peeling happen.
(Tip: Wipe in one direction to avoid pushing dirt)
For best results with your professional touch up paint, For optimal results with your professional touch up paint, start by washing the scratched area with mild soap and water to remove loose dirt.
Then switch to isopropyl alcohol or an automotive paint degreaser. Regular cleaners can leave residues that cause your paint to peel—tests show using the wrong cleaner increases peeling risk by up to 35%.
Soak a clean microfiber cloth, wipe in one direction to avoid pushing dirt into the scratch, and let the area dry completely. This few extra minutes can make the difference between an invisible repair and a patch that stands out.

Step 2: Primer for Deeper Scratches
Not every scratch needs primer, but if the damage has gone down to bare metal, it’s essential. Primer prevents rust and ensures your professional touch up paint bonds well.
Use a fine-tipped brush—or even a toothpick for precision—to apply a thin layer of primer to the exposed metal. Let it dry for 30 minutes. If metal is still visible, add another thin coat and wait another 30 minutes before painting. Remember: thin layers are always better than one thick layer.

Step 3: Applying the Touch Up Paint Like a Pro
For micro-scratches (under 2mm): Skip the large brush that comes with most kits and use a toothpick instead. Dip the tip into the paint and gently dot it into the scratch. Apply in thin layers, letting each dry for 10–15 minutes to prevent drips. Thin layers might feel like it’s taking longer, but patience pays off.
For slightly larger scratches: Use the brush built into your xtryfun touch-up paint kit, applying the paint carefully in light, controlled strokes. Think of it like “coloring inside the lines”—slow and steady. Let each layer dry before adding another. When using your professional touch up paint, The application method depends on the size of the scratch. For a visual demonstration, check out our step-by-step guide on our Xtryfun YouTube channel. Multiple thin layers blend far better than one thick coat, and this is where most DIYers get the best results.
By working slowly and methodically, you’ll get a result that blends naturally with your car’s original finish—no “DIY” look in sight.
(Use a toothpick for micro-scratches under 2mm)

Step 4: Let the Paint Cure – Patience Pays Off
Once you’ve applied the final layer, resist the urge to move on immediately. Small scratches usually need 2–3 hours to set, while larger areas require at least 6 hours. Avoid washing your car or driving in heavy rain during this time.
If you’re working indoors, keep the garage door cracked open to allow airflow; this helps the paint cure evenly. You’ll know your professional touch up paint is ready when the surface feels completely dry and firm, with zero tackiness.

Step 5: Light Sanding for a Smooth Finish
After the paint has fully cured, you might notice a faint ridge where the new paint meets the original finish. Don’t panic—that’s normal.
Grab a piece of ultra-fine 4000-grit sandpaper and gently sand the repaired spot to perfect your professional touch up paint finish. Keep the sandpaper wet by dipping it into water frequently—this prevents scratching the surrounding paint. Sand lightly with care when working with professional touch up paint, check often, and stop once the ridge disappears and the surface feels smooth. Wipe the area with a damp microfiber cloth and let it dry completely.

Step 6: Adding the Factory Gloss
This is where your professional touch up paint job transforms from “good” to “like it never happened.” Watch our tutorial video on the Xtryfun YouTube channel for a detailed walkthrough.
Wait at least 24 hours after sanding before applying a clear coat. Hold the brush or applicator 6–8 inches (15–20 cm) from the surface and apply light, even coats.
(Tip: Hold applicator 6–8 inches from surface)
A common mistake is applying too much at once—this causes the clear coat to puddle and lose shine. Aim for two to three thin layers, letting each dry for about 10 minutes. After the final coat, let it set for another 24 hours before buffing gently with a soft cloth to achieve that factory-fresh shine.

Step 7: Final Inspection and Long-Term Protection
Step back and check your professional touch up paint work in natural daylight—the most honest light there is.
If you notice any small imperfections, simply repeat the necessary step (whether it’s a touch of paint or another clear coat pass).
To finish, apply a quality wax or sealant to the entire panel to protect your professional touch up paint job.
This protects the new paint, blends it seamlessly with the rest of the car, and ensures your touch-up paint job looks great for years to come. Your xtryfun kit isn’t just a quick fix—it’s a long-term solution.

3 Costly Mistakes to Avoid in Your Touch Up Paint Job (Learned from 200+ DIY Fails)
Even with the xtryfun touch-up paint kit, small mistakes can turn a perfect repair into a visible blemish. Here are the top errors to avoid:
1. The Humidity Trap
Painting in high humidity is one of the most common—and most overlooked—mistakes. When the humidity is above 70%, the paint struggles to dry, often resulting in a bumpy “fish-eye” texture.
Pro tip: Check your weather app before starting and aim for a day with humidity below 60%. If that’s not possible, run a dehumidifier in your garage for an hour or two to lower the moisture. Your touch-up paint job will thank you.
2. Over-Application of Paint
It’s tempting to apply a thick coat to cover the scratch quickly, but layers over 0.1mm almost always lead to drips and runs. Thin layers are your friend. You can always add more—but once thick paint dries, it’s almost impossible to remove.
For peace of mind, consider using a small thickness gauge (available online for under $10) to ensure precise and consistent application.
3. Skipping the Clear Coat
Skipping the clear coat might feel like a time-saver, but the consequences show up fast. Without it, your auto touch-up paint is vulnerable to UV damage and will fade up to 80% faster. Think of the clear coat as sunscreen for your repair—it protects your work and keeps it looking factory-fresh.
FAQ – Quick Answers for DIY Success
Q1: How do I find my car’s paint code?
A: Use our free Paint Code Decoding Manual—a step-by-step illustrated guide to help you achieve professional touch up paint results with an exact color match.
Q2: How long should I wait before waxing the repaired area?
A: Wait at least 30 days. This ensures the paint has fully cured and won’t trap moisture underneath.
Q3: How do I clean the brush after using the xtryfun kit?
A: Wipe off excess paint with a paper towel, then rinse gently with water or a bit of rubbing alcohol for dried paint. Keep the brush tip soft and flexible for future use.
Q4: Can I use the kit on metallic or pearl finishes?
A: Yes! Your professional touch up paint works perfectly on metallic or pearl finishes when you follow the thin-layer application method and allow each coat to dry fully before adding the next.
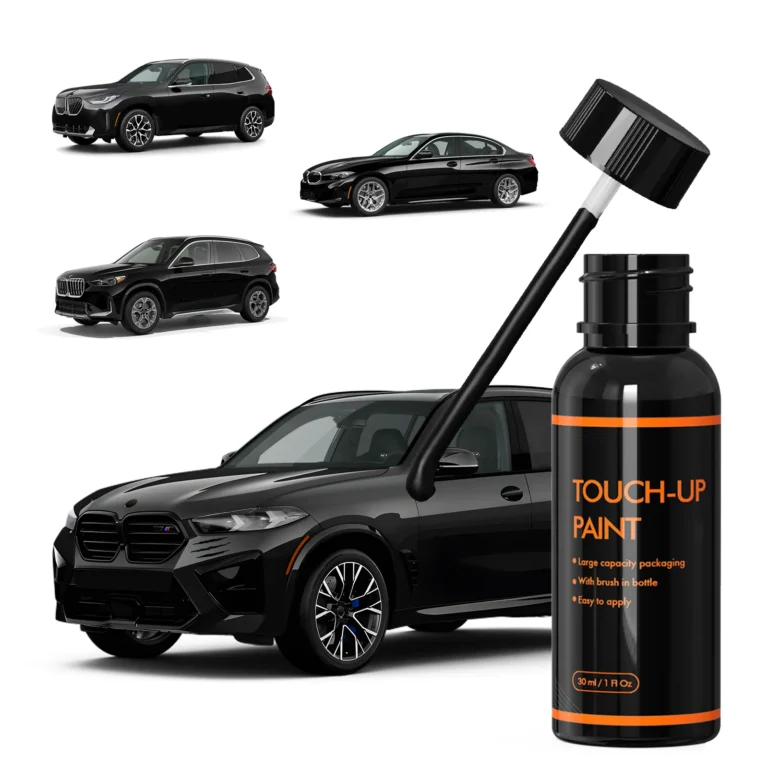
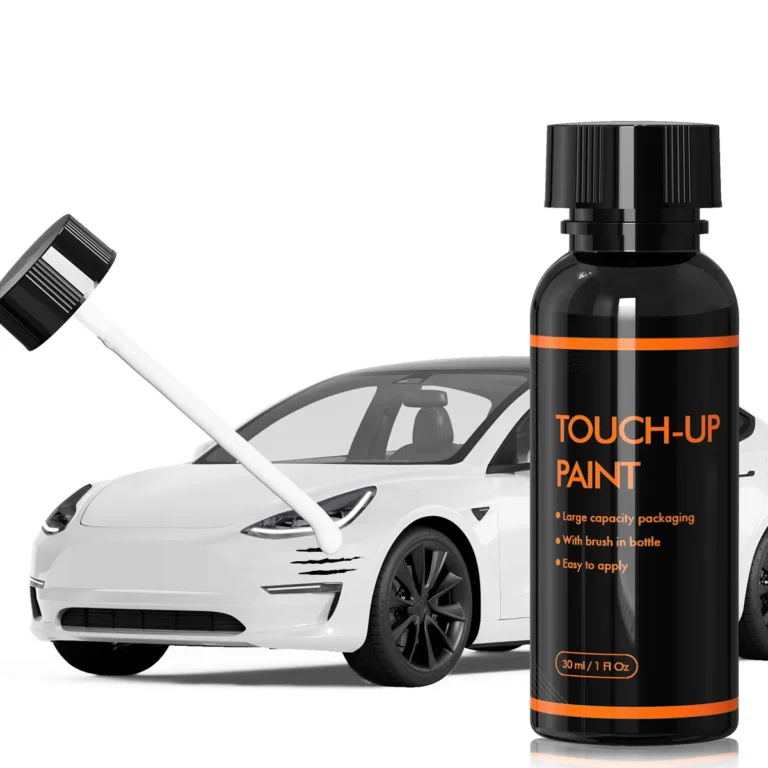
Users with Toyota touch up paint, Tesla touch up paint, BMW touch up paint, or Subaru touch up paint kits will find this method works perfectly for complex finishes. Multiple layers will give the best blend.
Q5: What if I notice brush streaks?
A: Lightly buff the area with a soft microfiber cloth after curing. You can also add a very thin layer of clear coat to even out minor streaks.
Your Next Step: From Reader to Repair Master
You now have the knowledge to tackle scratches like a pro—and avoid the pitfalls that trip up most DIYers.
Claim your free guide – Download the Paint Code Decoding Manual and learn more about using your professional touch up paint for a perfect repair.
Ensure an exact color match every time.
Join the xtryfun community – Gain access to exclusive car care tips, live Q&A sessions with experts, and personalized scratch repair advice.
With xtryfun on your side, achieving a flawless, factory-look finish with your professional touch up paint isn’t just possible—it’s within reach. See our full video tutorials on the Xtryfun YouTube channel to master every step.


