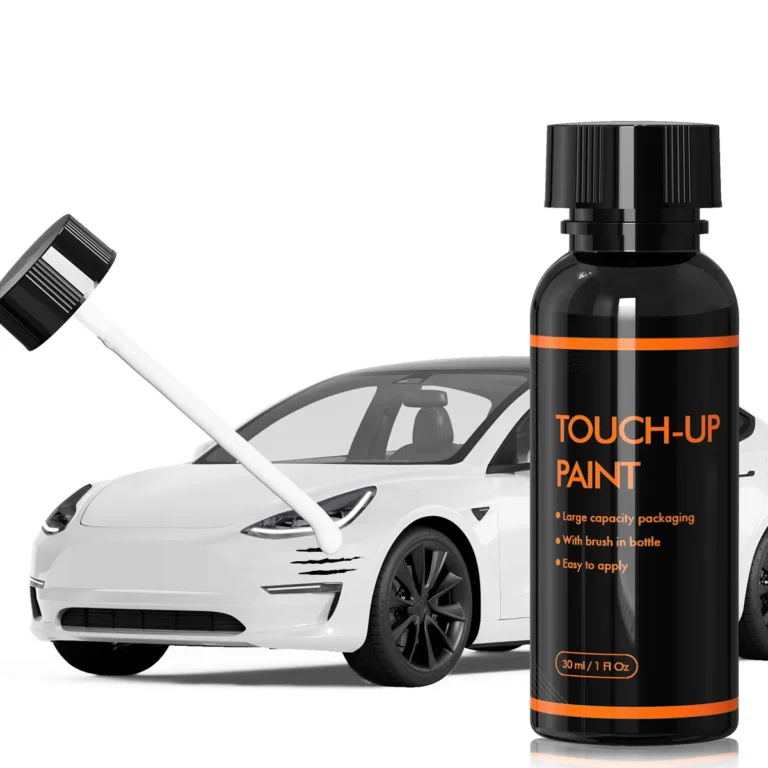
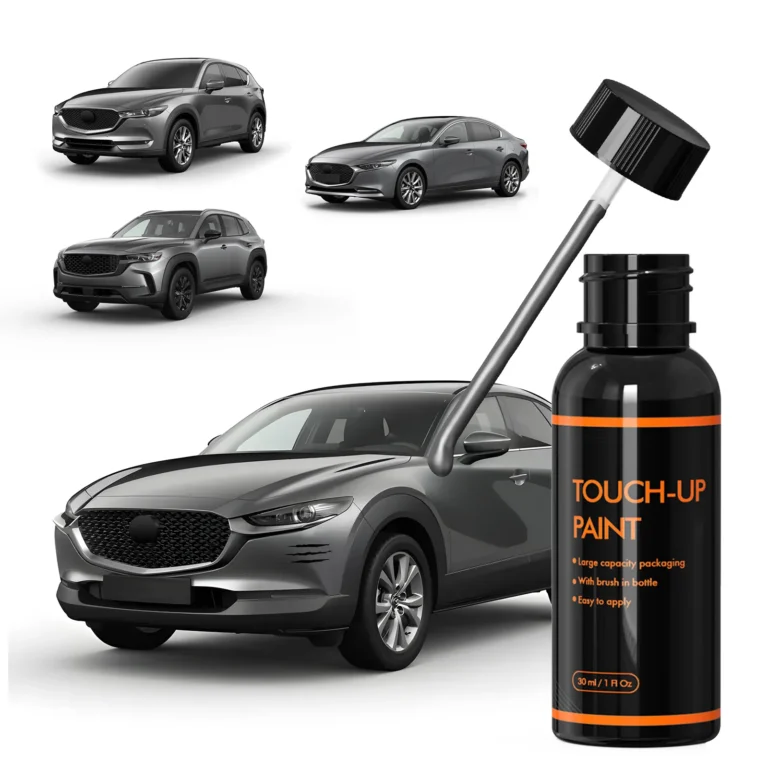
Introduction: Why Every Car Owner Needs the Right Touch Up Paint
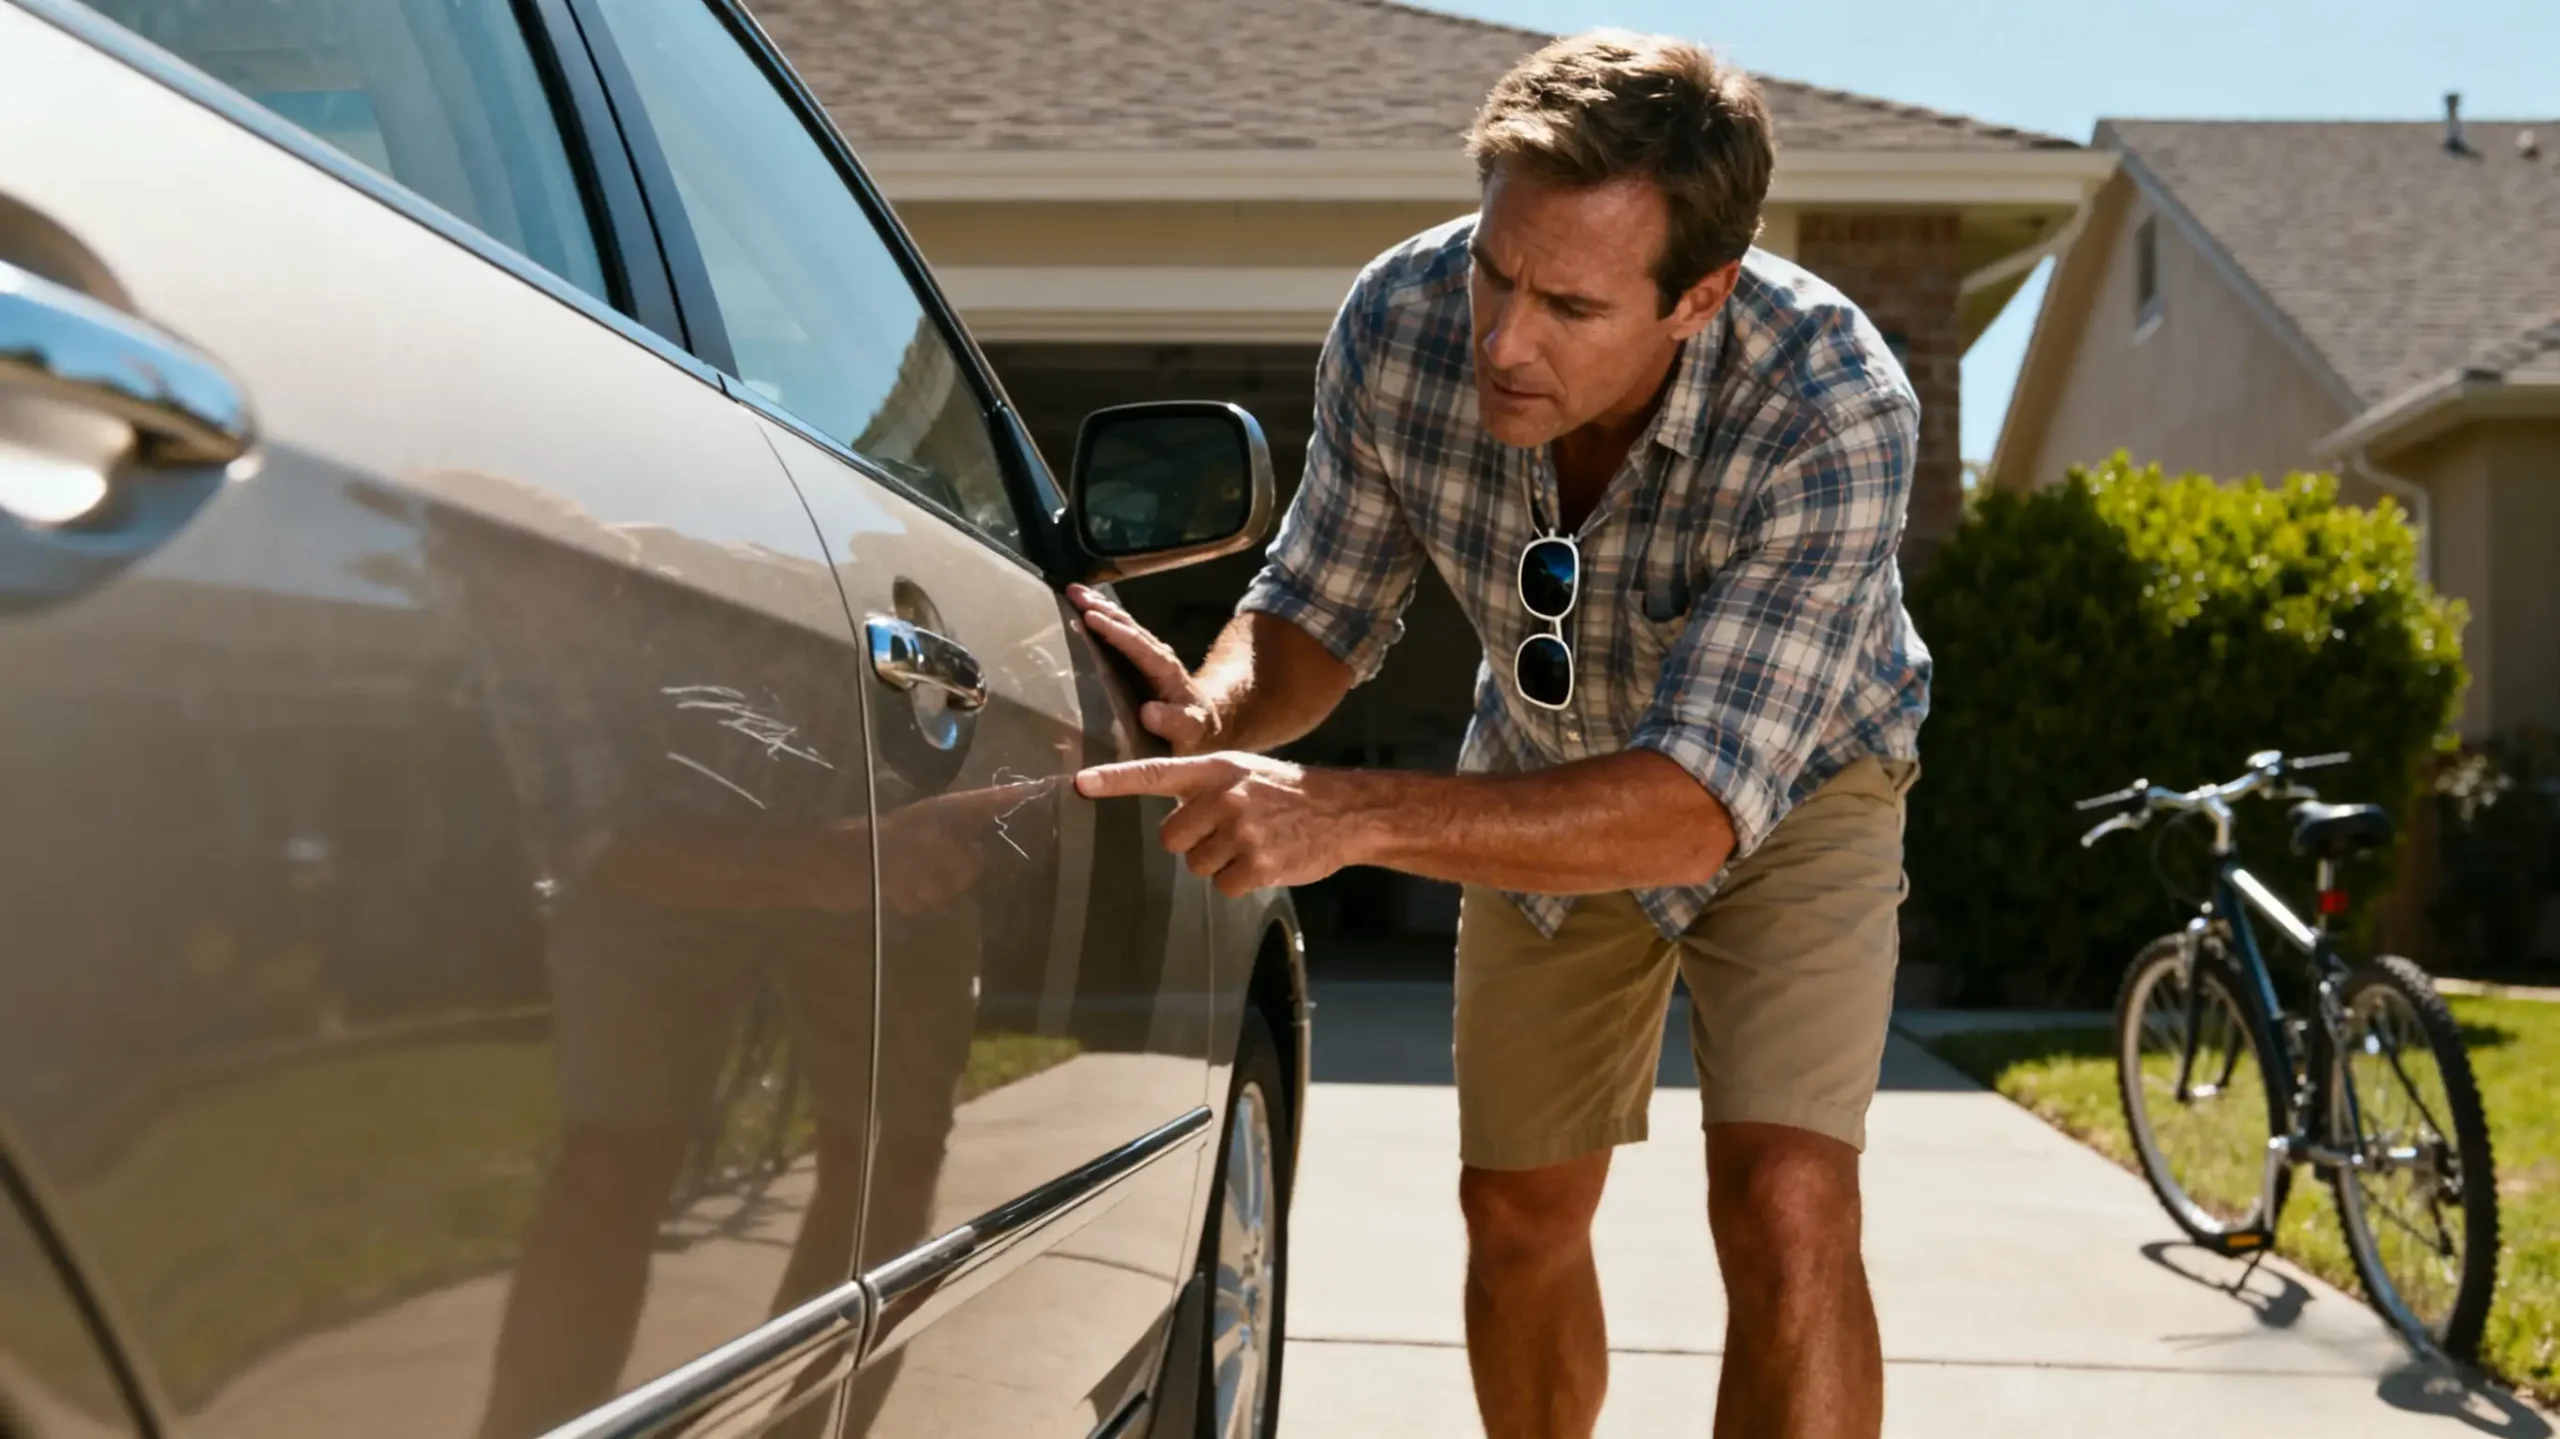
We’ve all been there: parking in a crowded lot, only to return and find a new scratch or chip on your beloved vehicle. While professional body shops can fix these issues, they are expensive and time-consuming. Luckily, with the right touch up paint kit, most small damages can be repaired at home with professional-looking results.
In this guide, we’ll show you step-by-step how to find the correct touch up paint, apply it flawlessly, and maintain your car’s finish over time. Whether you drive a Toyota or another brand, these tips are designed for everyday car owners who want a DIY solution that actually works.
Step 1: Identifying Your Vehicle’s Paint Code
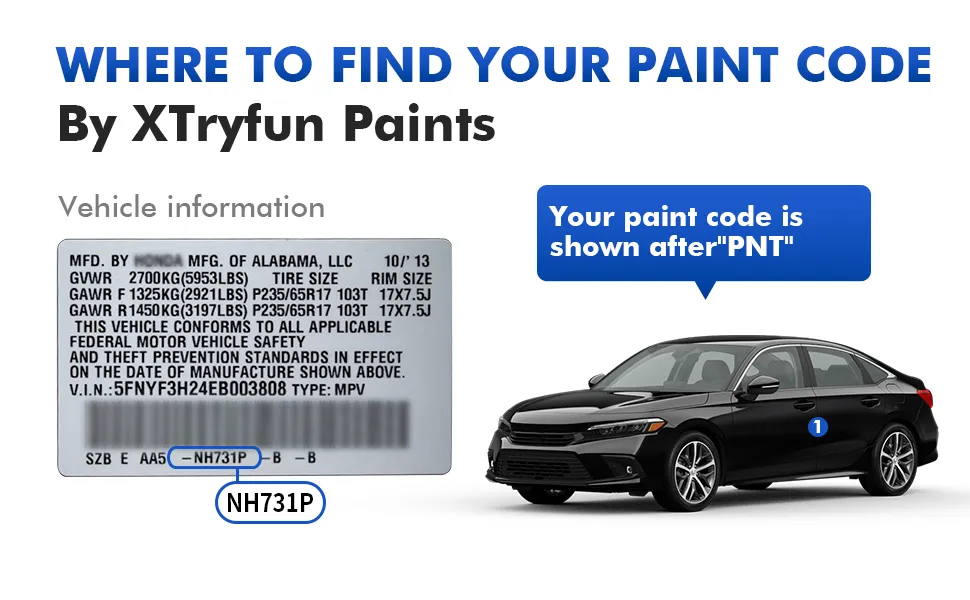
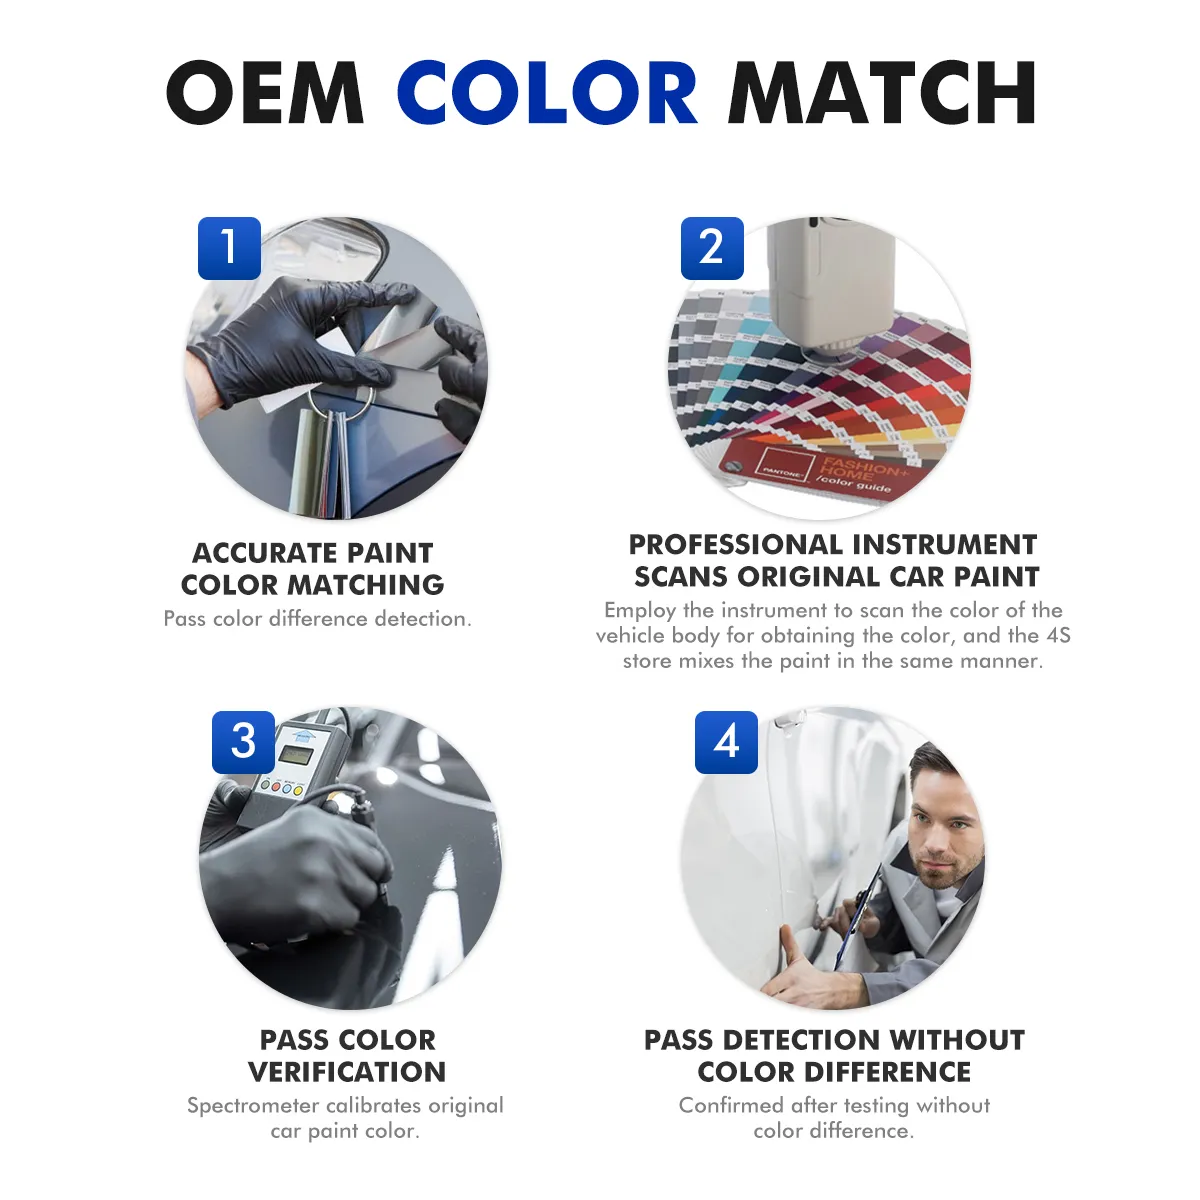
Finding your car’s paint code is the first step toward a seamless repair. For Toyota vehicles, this code is typically located on the driver-side door jamb, under the hood, or inside your owner’s manual. With this code, you can select the exact Toyota touch up paint for your vehicle. You can also watch our step-by-step video guide on YouTube: xtryfun YouTube channel.
Tips for Finding Your Paint Code Quickly:
- Check the driver-side door jamb carefully; some codes are hidden under rubber seals.
- Look under the hood near the firewall for an embossed plate.
- Refer to your owner’s manual if the label is missing or damaged.
- Keep a photo of the code for future reference.
Step 2: Preparing the Area for Repair
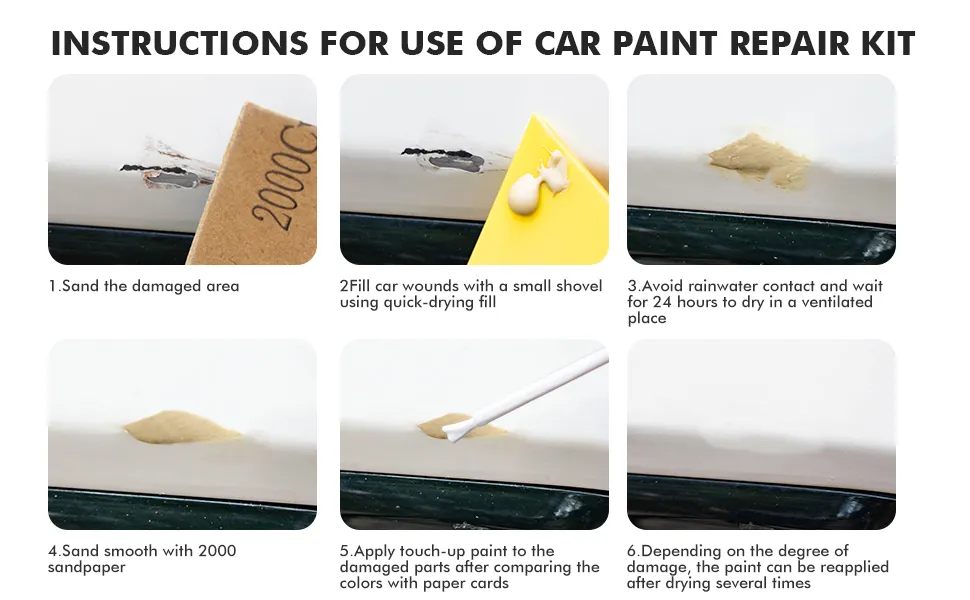
Proper preparation ensures a smooth finish. Start by washing the area thoroughly to remove dirt, wax, and oils. Then dry the surface completely. Sand any rough edges lightly with fine-grit sandpaper to create a uniform surface for the paint to adhere.
Pro Tips:
- Use masking tape to protect surrounding paint from accidental brush strokes.
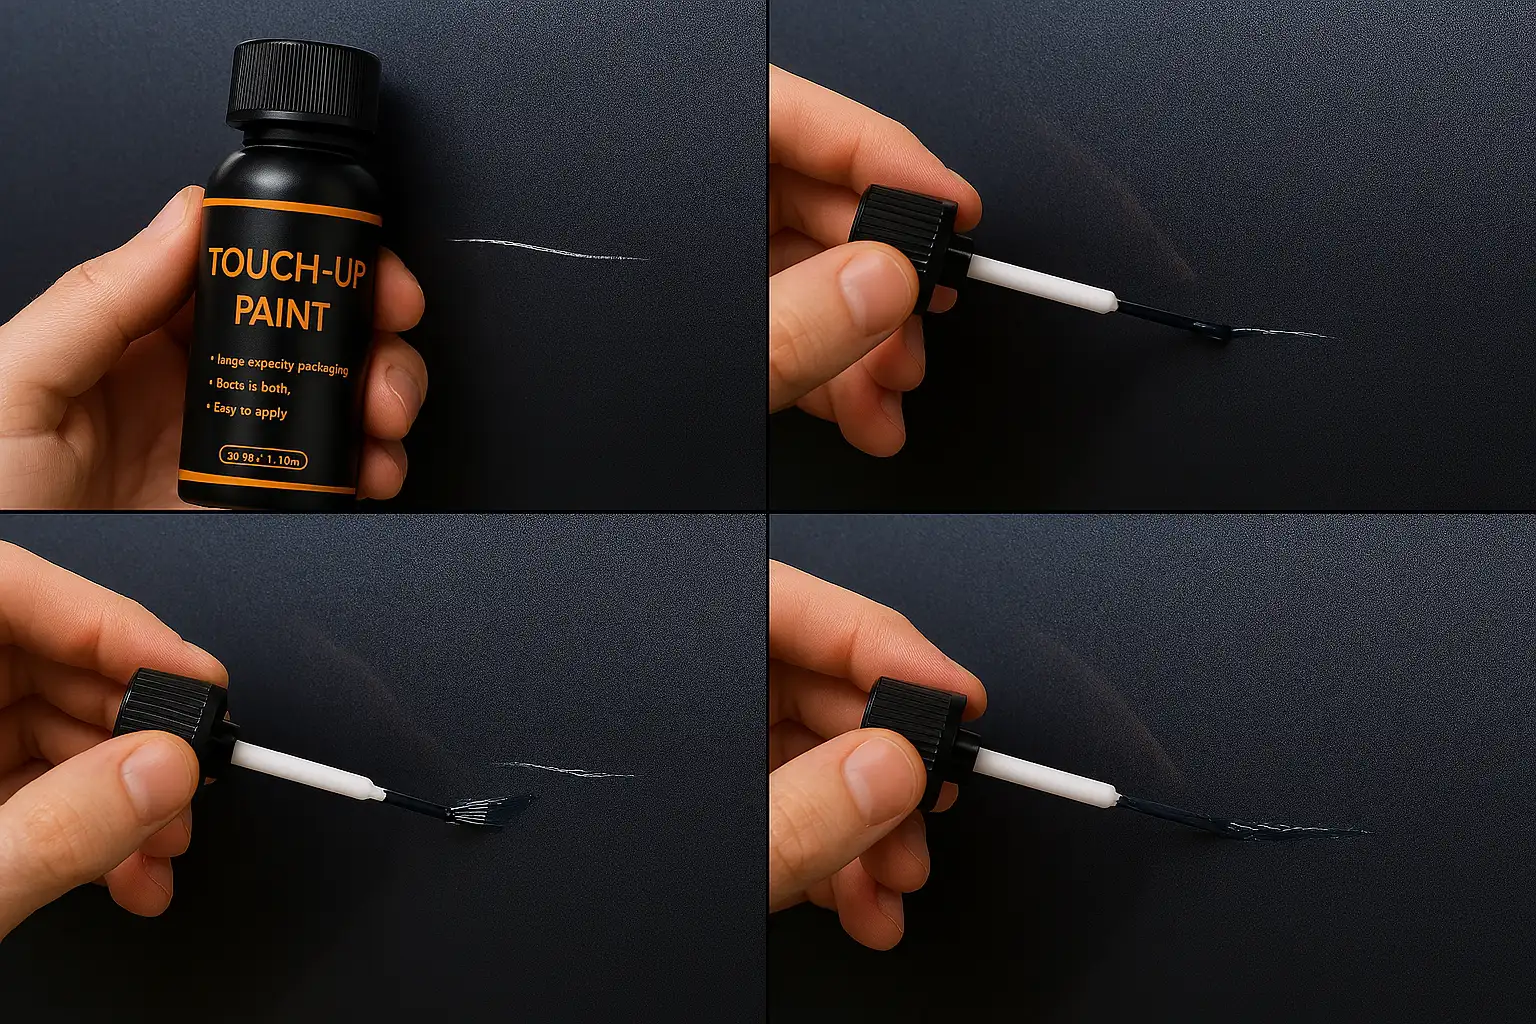
- If the scratch is very small, a toothpick can provide more precise application than a brush.
- Always apply in a shaded area to prevent rapid drying or bubbling.
Step 3: Applying Primer and Base Coat
If the metal is exposed, start with a thin layer of primer. This step prevents rust and ensures better adhesion. Once dry, apply the base coat in thin layers. Multiple thin coats are better than one thick coat because they dry evenly and reduce visible brush strokes.
Extra Tips:
- Wait at least 15–20 minutes between coats for optimal drying.
- Keep the brush perpendicular to the surface to avoid streaks.
- If you accidentally over-apply, gently lift excess paint with a damp cotton swab.
Step 4: Sealing with Clear Coat
After the base coat has fully dried, apply a clear coat to protect the paint and enhance shine. This also helps the repaired area blend naturally with surrounding paint. Multiple thin layers work best, followed by a gentle polish once cured.
Quick Tips:
- Allow at least 24 hours before washing or waxing the repaired area.
- Polish with a microfiber cloth to enhance the final finish.
- For deeper scratches, consider using a fine rubbing compound after the clear coat has cured.
DIY vs Professional Repair: Which Is Right for You?
Many car owners wonder whether a DIY touch up paint kit can match the results of a professional repair. The truth is, it depends on the damage. Minor chips, hairline scratches, and scuffs are ideal for DIY repair, while larger dents or deep rust require a professional touch.
Here’s a quick comparison table to help you decide:
| Aspect | DIY Touch Up Paint Kit | Professional Body Shop |
|---|---|---|
| Cost | $19.9 | $200–$800+ |
| Time | 30 min – 2 hours | 1–3 days |
| Skill Needed | Basic to intermediate | Professional technician |
| Finish Quality | Near-professional if done carefully | High, seamless |
| Durability | Years if properly maintained | Years |
FAQ: Common Questions About Touch Up Paint Kits
1. Can I use the same touch up paint kit for different car brands?
Yes, but you must ensure the color code matches your specific vehicle. For Toyota owners, using a Toyota touch up paint guarantees the most accurate match.
2. What if the scratch is deeper than expected?
For deep scratches that expose metal, apply primer first and consider filling minor depressions. Large dents may still require professional attention.
3. Does temperature affect the application?
Yes. Paint dries too quickly in direct sun or extreme heat, which can cause bubbles or streaks. Always apply in a shaded, moderate-temperature area.
4. How do I clean and store the brush and kit?
Clean brushes immediately after use with the recommended solvent. Store the kit in a cool, dry place. Proper storage extends the shelf life of the paint.
5. Will the repaired area be noticeable under sunlight?
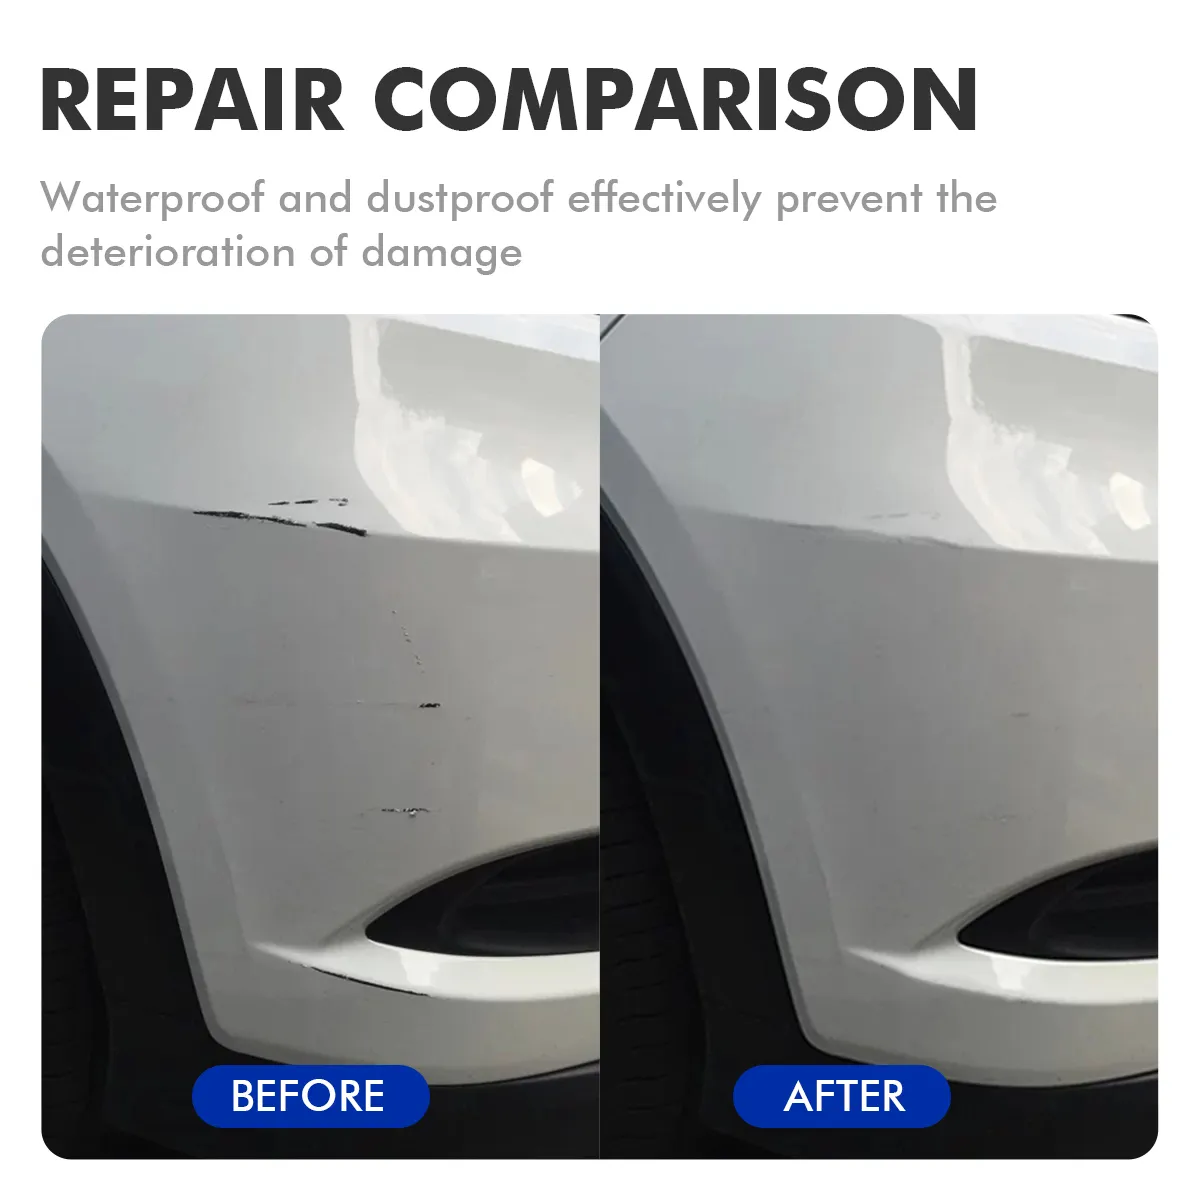
If applied correctly with multiple thin layers and a clear coat, the repair blends seamlessly. Sunlight may reveal subtle differences only on close inspection. For reference, you can also view the xtryfun product page for visual examples.
6. How long will the repair last?
With proper application and maintenance, a DIY repair can last several years. Regular washing and waxing help maintain the finish.
7. Is xtryfun suitable for first-time DIYers?
Absolutely. The kit is designed for ease of use with clear instructions, making it accessible for beginners who want professional-looking results. Check our detailed video guides on YouTube for visual instructions.
Conclusion: Restore Your Car with Confidence
Scratches and chips don’t have to ruin your car’s appearance. With the right touch up paint kit and a little patience, even a beginner can achieve near-professional results. Confirm your paint code, follow the steps carefully, and protect your car from rust and fading. For extra guidance, see the vehicle scratch repair kit instructions.
For a reliable DIY solution, I highly recommend xtryfun. Their kits provide accurate color matching, step-by-step instructions, and durable results that will keep your car looking its best. Don’t forget to subscribe to our xtryfun YouTube channel for more tutorials and tips.
Call to Action
Ready to fix your car’s scratches today? Browse the complete touch up paint kit collection. Your vehicle deserves a flawless finish, and xtryfun makes it easy to achieve. Watch our step-by-step tutorials on YouTube.
Don’t wait for rust to appear—restore your car’s shine and confidence this weekend!

