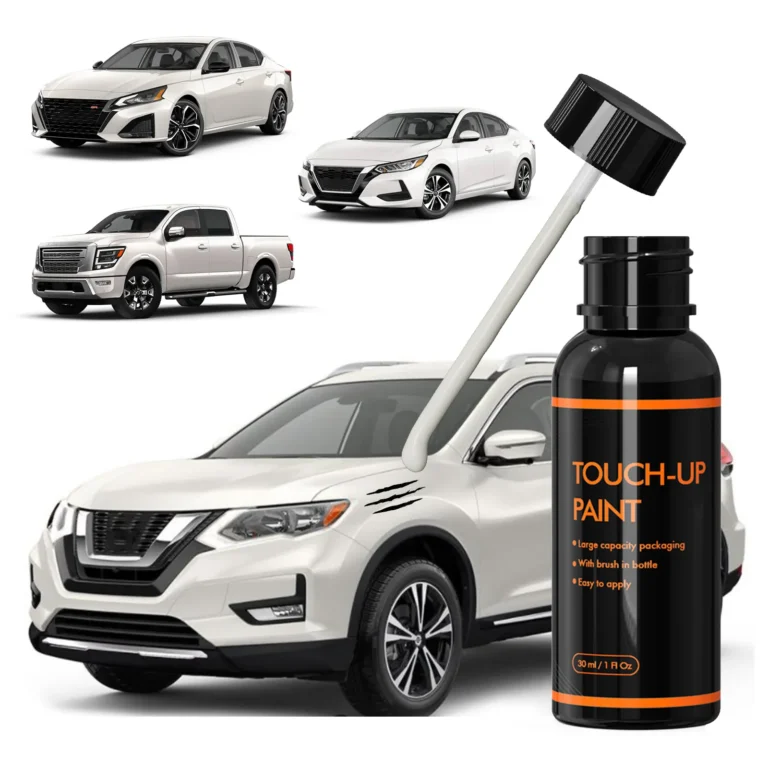
Why Finding the Exact Paint Match Matters
Exact car paint match is easier than you think. If you’ve ever noticed a small scratch or paint chip on your car, you know how distracting it can be—especially on a new vehicle. Even minor paint damage can make your car look older or neglected. Many car owners don’t realize that finding an exact paint match is simpler than it seems. With the right approach, a bit of patience, and a high-quality xtryfun touch up paint kit, you can achieve professional-level results at home.
Matching paint isn’t just about appearance—it protects the underlying metal. Exposed metal is prone to rust in humid or snowy conditions. Using a precise touch up paint kit restores your vehicle’s look and prevents costly corrosion over time. This is especially true if you are repairing scratches with a car scratch repair kit or car scuff repair kit.
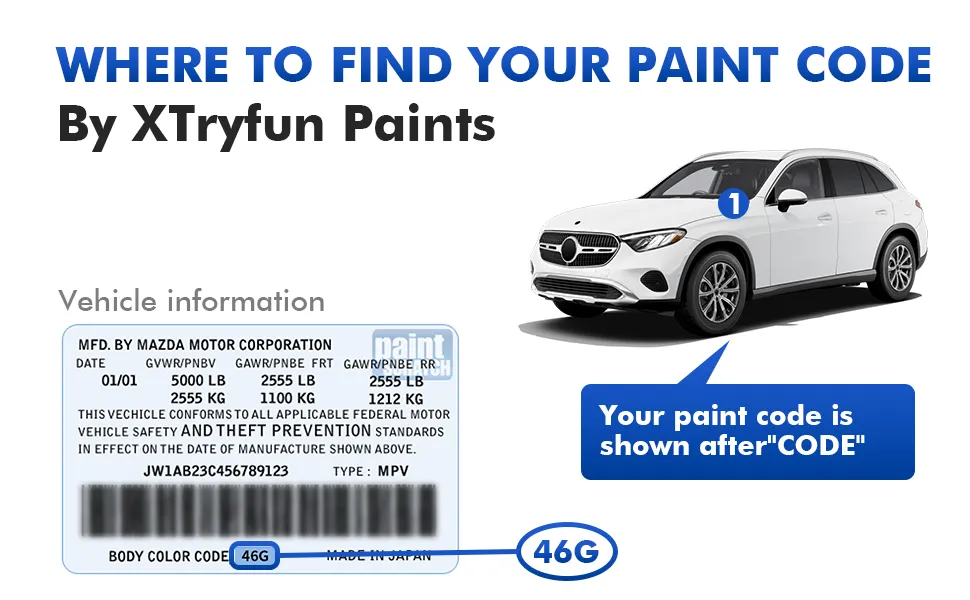
Step 1: Locate Your Vehicle’s Paint Code
Each vehicle comes with a unique paint code from the factory to ensure an exact 1:1 match of OEM color, metallic effect, or pearl finish. Most brands place this code on the driver’s side door frame, under the hood, or near the spare tire well. For instance, Mazda touch up paint codes often start with “A” or “42M,” while Nissan touch up paint codes might start with “K” or “Q.”
Refer to the owner’s manual or the manufacturer’s website to confirm your exact code. Some models have multiple codes depending on year or configuration, so double-checking avoids purchasing the wrong color. You can also ask for help from xtryfun support if needed.
Common Paint Code Locations by Brand
- Mazda: Driver door jamb or glove compartment.
- BMW: Under the hood or near the strut tower.
- Chevrolet / GMC: Glove box or inside trunk lid.
- Tesla: Driver door jamb or “Vehicle Details” page in the Tesla App.
Step 2: Verify Your Paint Match Online
Once you have the paint code, visit xtryfun to browse the full color range. Each touch up paint kit is precisely mixed to OEM standards, ensuring seamless blending with your vehicle’s paint. You can also view product images and real-life application results.
xtryfun provides detailed photos and descriptions to help you select the right finish, whether metallic, pearl, or standard gloss. This pre-order verification prevents mistakes and unnecessary reorders. For additional guidance, check our car paint touch up kit tutorial.
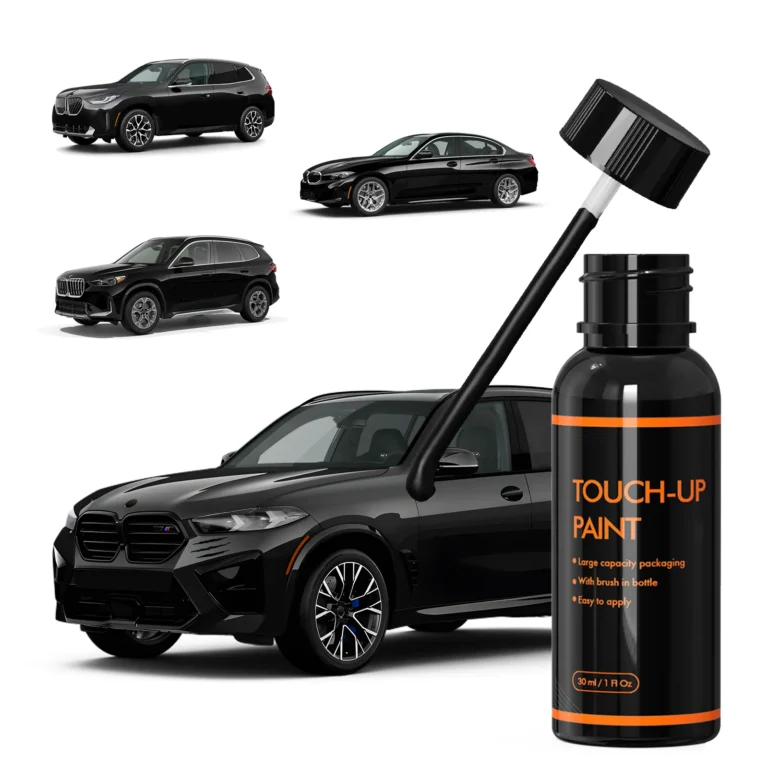
If you drive a BMW, Chevy, or Tesla, you can directly locate the corresponding color kit. The complete DIY set arrives quickly, containing all necessary tools for scratches and scuffs. For visual guidance, check our DIY car paint repair videos to see step-by-step tutorials.
Step 3: Prepare the Repair Area
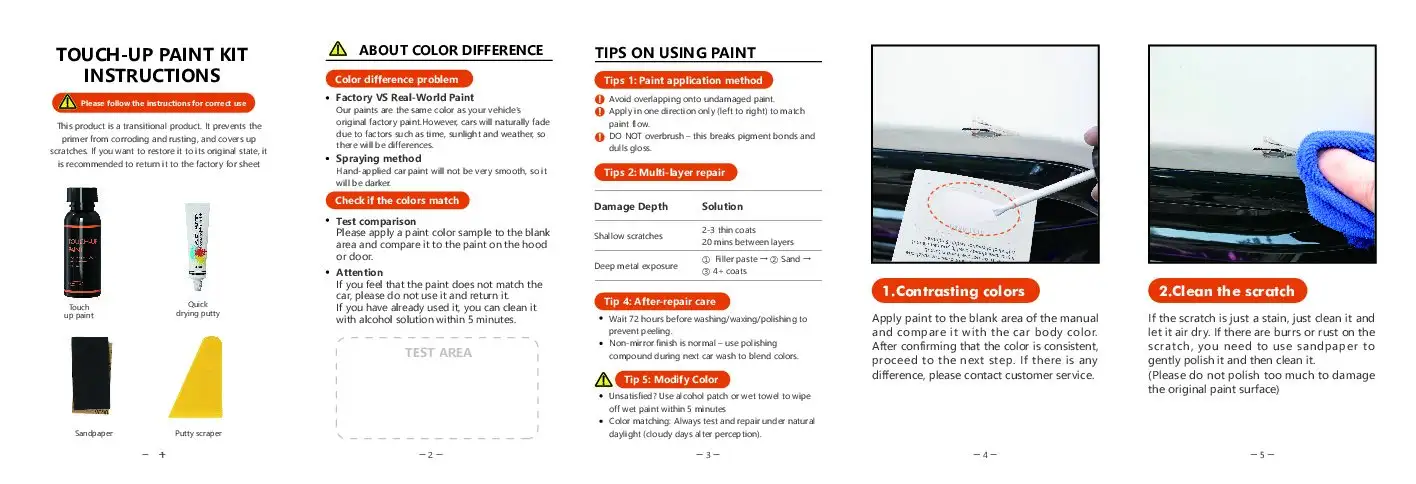
Before painting, ensure the scratch area is clean, dry, and free of wax or rust. Use the included sandpaper to smooth rough edges or oxidation. For deeper chips or dents, fill with the small bottle filler tool, then proceed to paint for a smooth, even finish. Using the touch up paint for car scratches ensures precise coverage.
Tip: Lightly sanding the edges feather the repair, avoiding obvious boundaries or bubbling. This method works with both minor scratches and larger scuff marks. Watch our YouTube tutorials for proper sanding and prep techniques.
Step 4: Apply the Paint
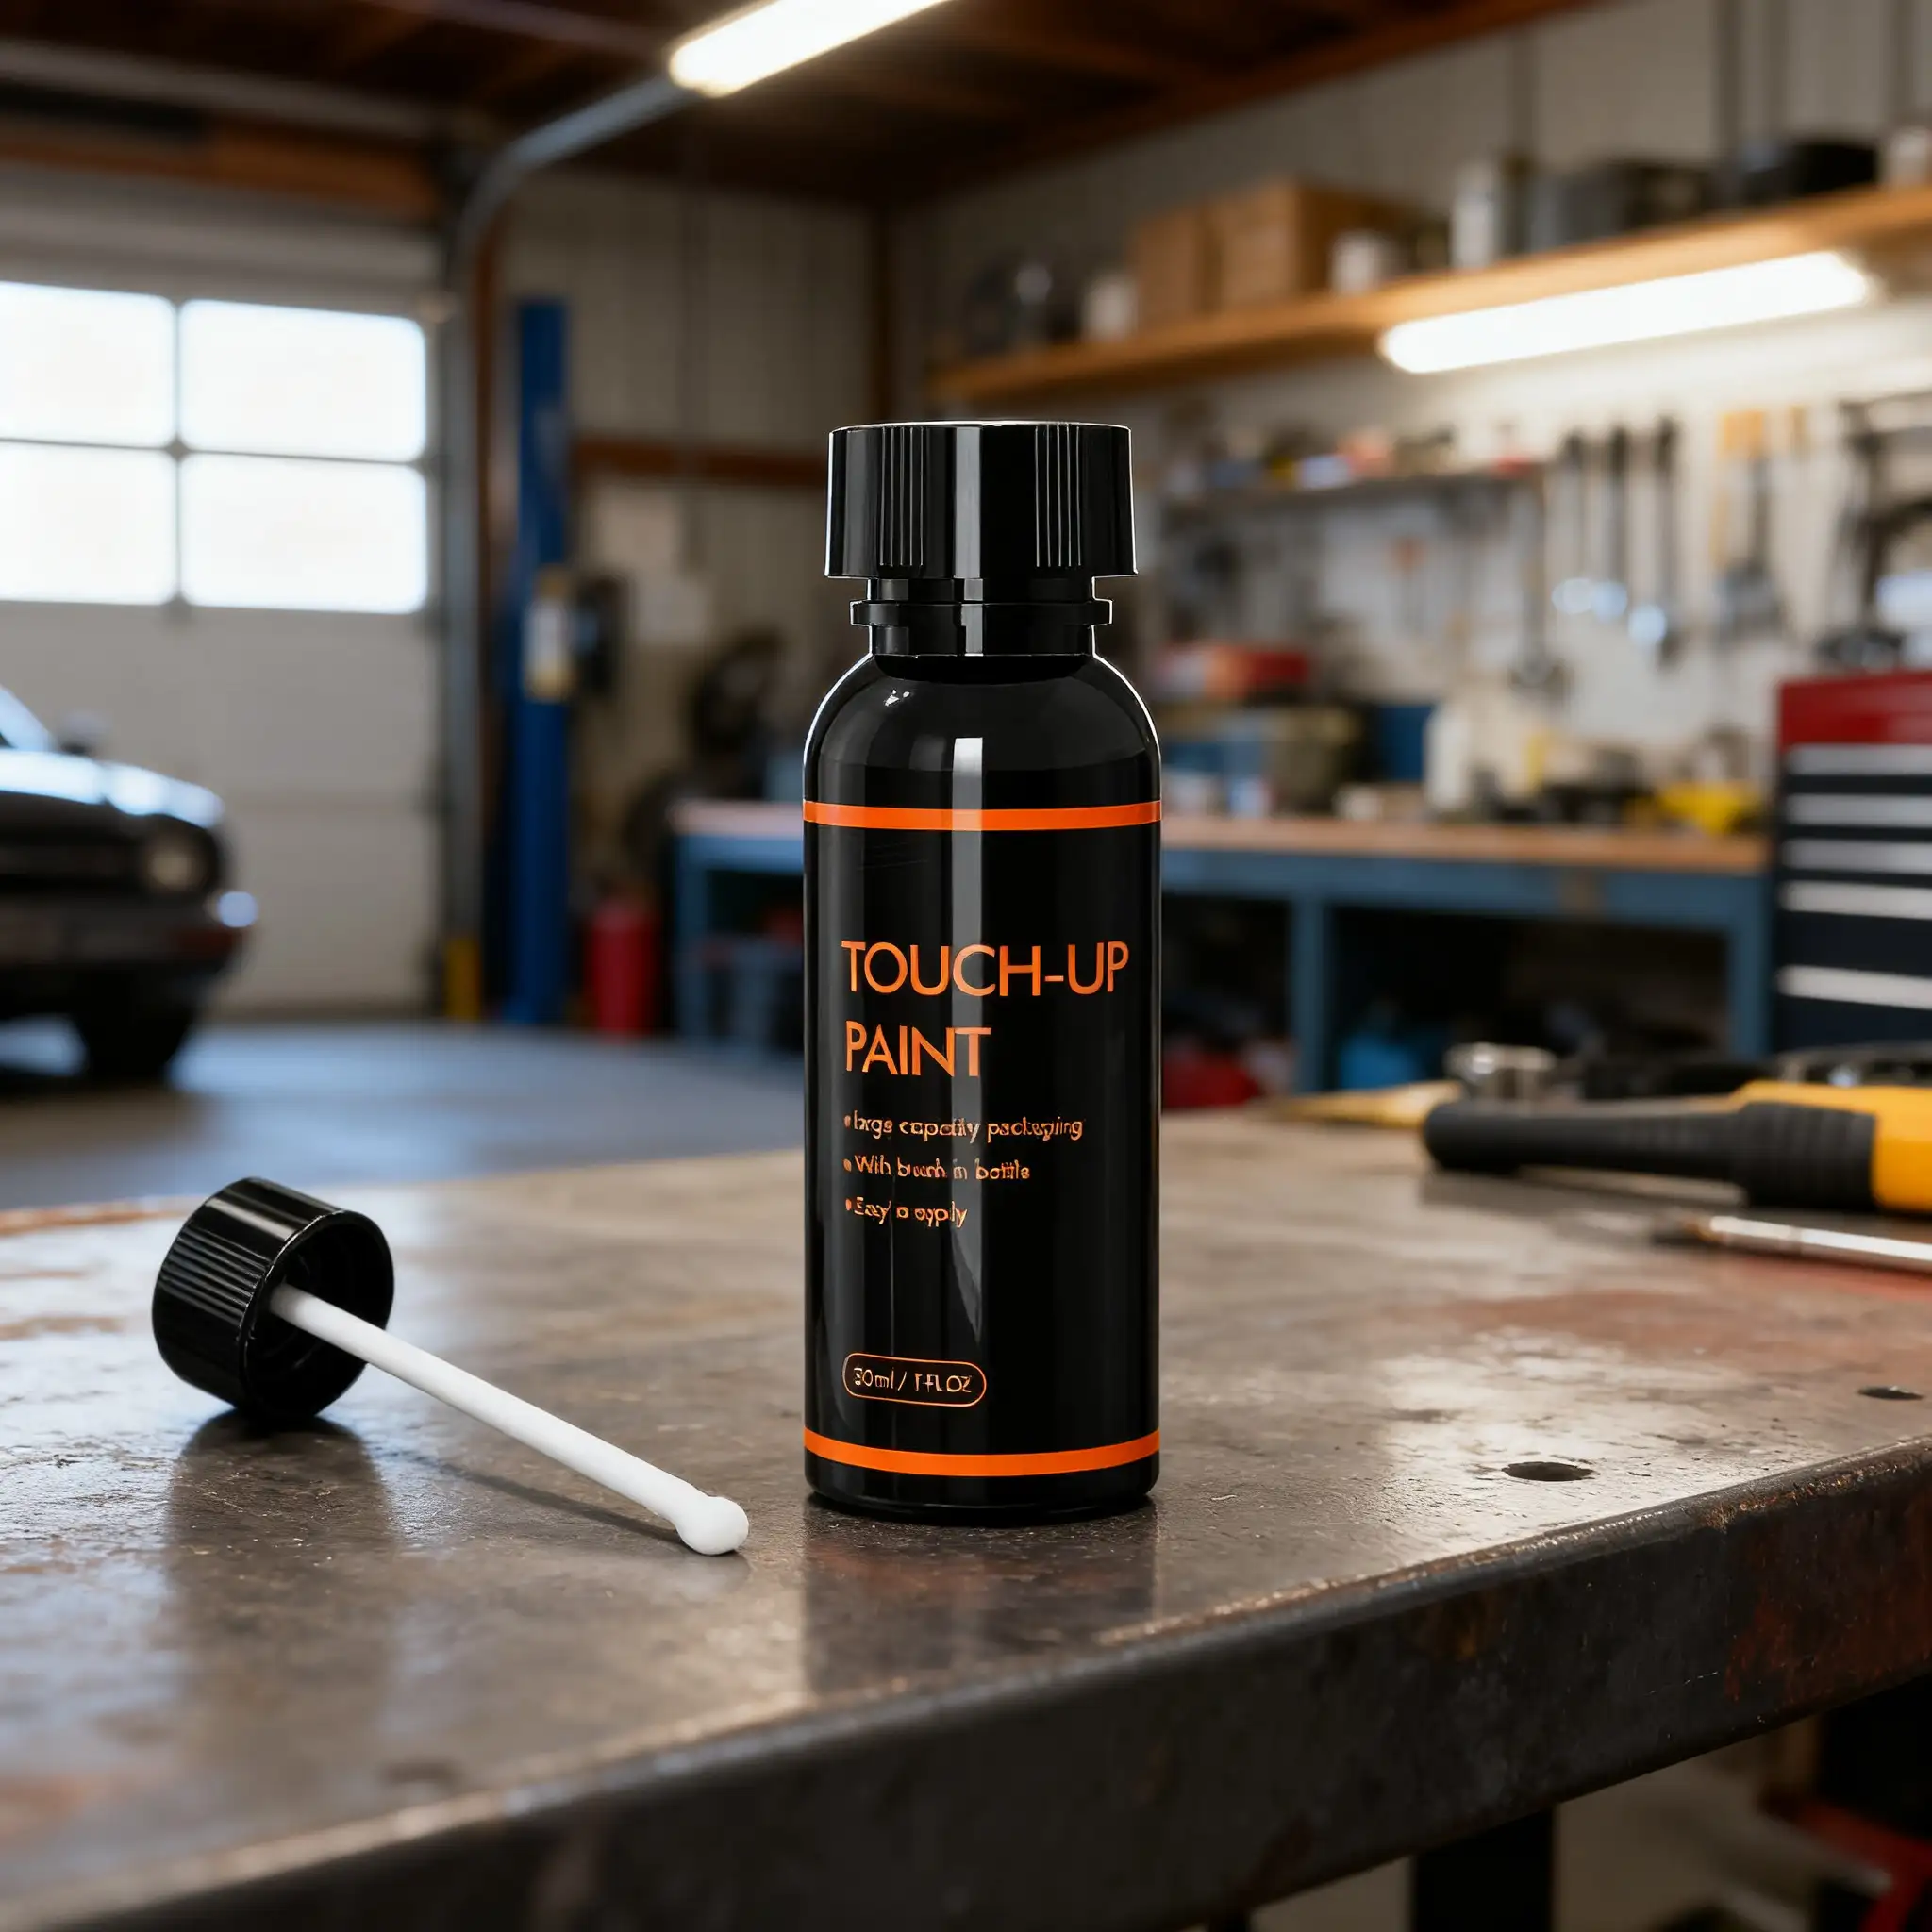
Using the brush-cap bottle, apply a thin, even layer to the repair area. The touch up paint kit dries in approximately 30 minutes. Apply multiple layers as needed for full coverage. Its waterproof, anti-oxidation formula ensures long-lasting protection even in harsh weather.
Allow each layer to fully dry before applying the next. Two to three thin layers result in a smoother, professional-looking finish. Inspect under natural light to ensure a seamless match.
Real Case: Tesla Owner Story
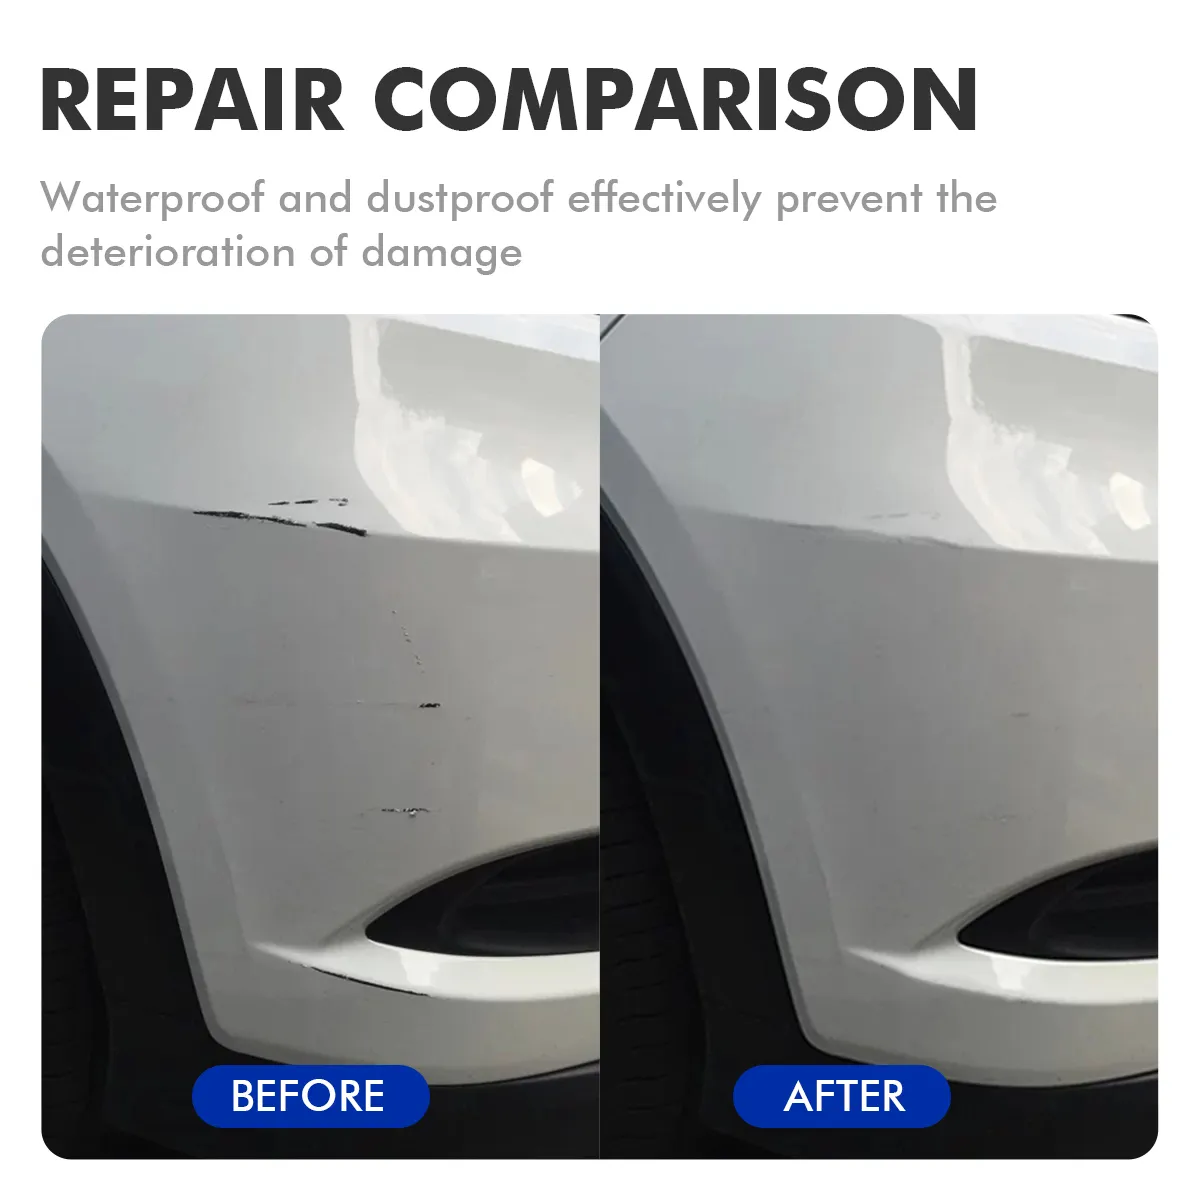
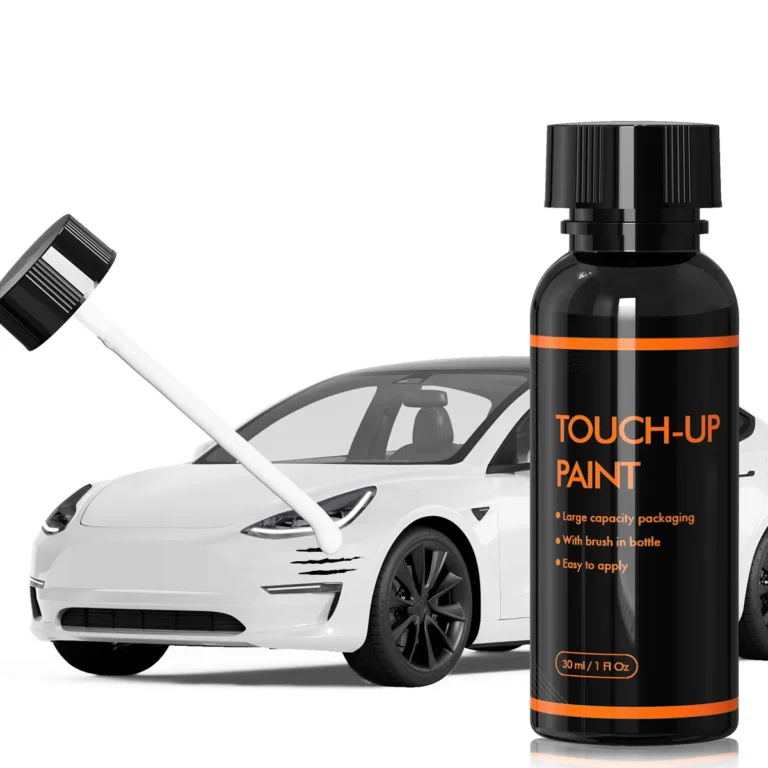
John, a Tesla Model 3 owner in California, scraped his rear bumper against a concrete post. The red paint made the damage highly visible. Instead of visiting a body shop, he purchased the Tesla paint touch up kit from xtryfun. Within an hour, he repaired the bumper—color matched perfectly. He shared before-and-after photos, amazed that DIY could rival professional spray jobs.
This example proves that even high-end cars with special finishes can be repaired at home using the right touch up paint kit, saving time and money while maintaining vehicle value.
Step 5: Finishing & Protection
Once dry, gently polish with a microfiber cloth. Optionally, apply a thin layer of wax to enhance shine and UV/water resistance. The final result resembles a professional body shop finish, but completed at home. Use a car scratches repair kit for larger touch-ups if needed.
Regular maintenance extends the repair’s lifespan. Wash and wax periodically, and check the repaired area to keep your DIY work invisible and durable.
Why Choose xtryfun Touch Up Paint Kit?
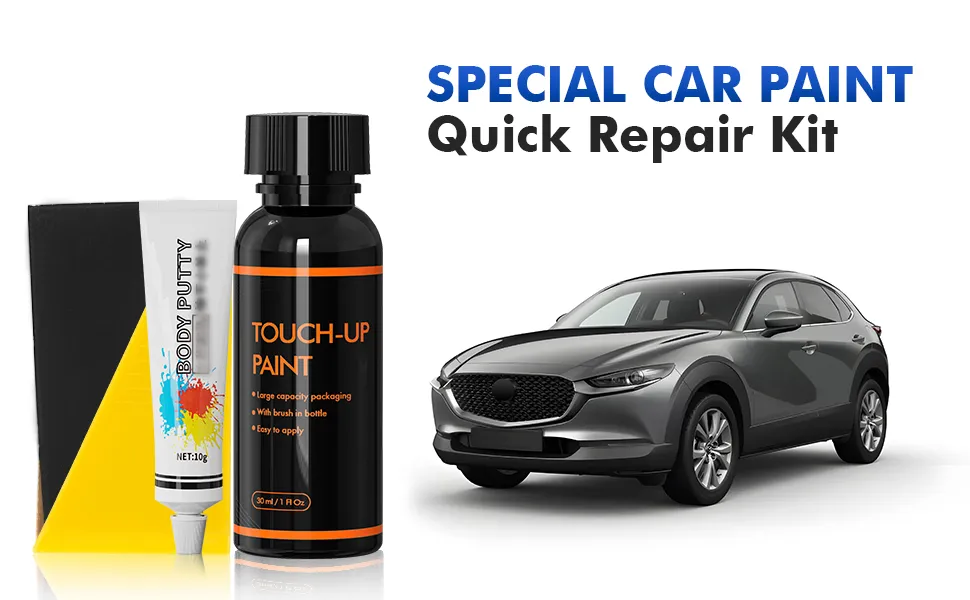
- ✔ Complete DIY kit with brush-cap bottle, sandpaper, spreader, and filler tool
- ✔ Fast drying (~30 minutes)
- ✔ Waterproof & anti-oxidation protection
- ✔ 1:1 OEM color match
- ✔ MSDS certified, safe & eco-friendly
Compatible with All Major Brands
Whether you drive Mazda, Nissan, BMW, Chevy, or Tesla, xtryfun offers precise OEM color formulas. Repairs blend seamlessly with surrounding paint, from small door scratches to larger bumper chips.
FAQ
1. Can one bottle cover multiple scratches?
Yes. The 30ml bottle covers multiple small scratches or one larger area. Seal properly for future use.
2. What if I can’t find my paint code?
Contact xtryfun support with your VIN or paint code; they will help identify the correct match within minutes.
3. Will the repair look like factory paint?
Yes. The xtryfun formula follows strict OEM standards; once fully dry, most people can’t tell where the repair was made.
Conclusion: Make Your Car Shine Again
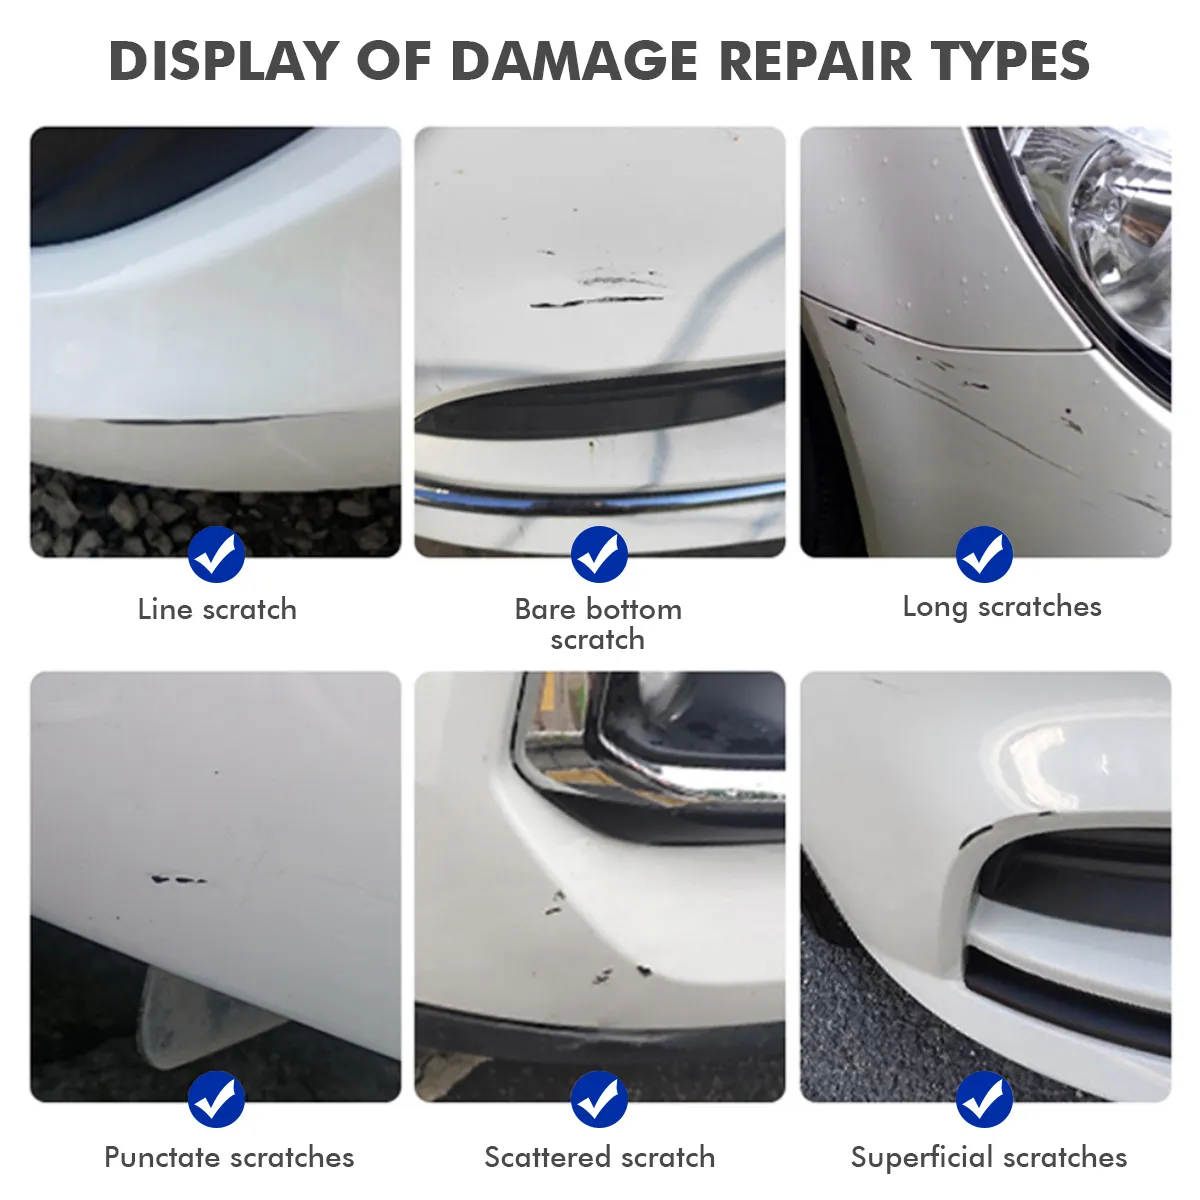
Finding the perfect paint match isn’t hard. With xtryfun touch up paint kit, you can repair scratches, chips, and scuffs easily at home, without spending hundreds at a body shop. Quick and simple DIY steps bring your car back to its original shine.
Patience and careful application make your DIY repair last. Follow the steps, work in good light, and use the correct touch up paint kit for professional-quality results.
Get Started with Your DIY Repair
Your car deserves to shine, and you deserve the satisfaction of repairing it yourself.
Final Tips for Successful DIY Touch-Up
Work in shade to avoid direct sunlight; keep the area dust-free. Seal leftover paint and store in a cool place. With patience, proper technique, and the right touch up paint kit, your DIY repair can last for years, keeping your car looking flawless. For extra tips and live demos, visit our YouTube channel.

