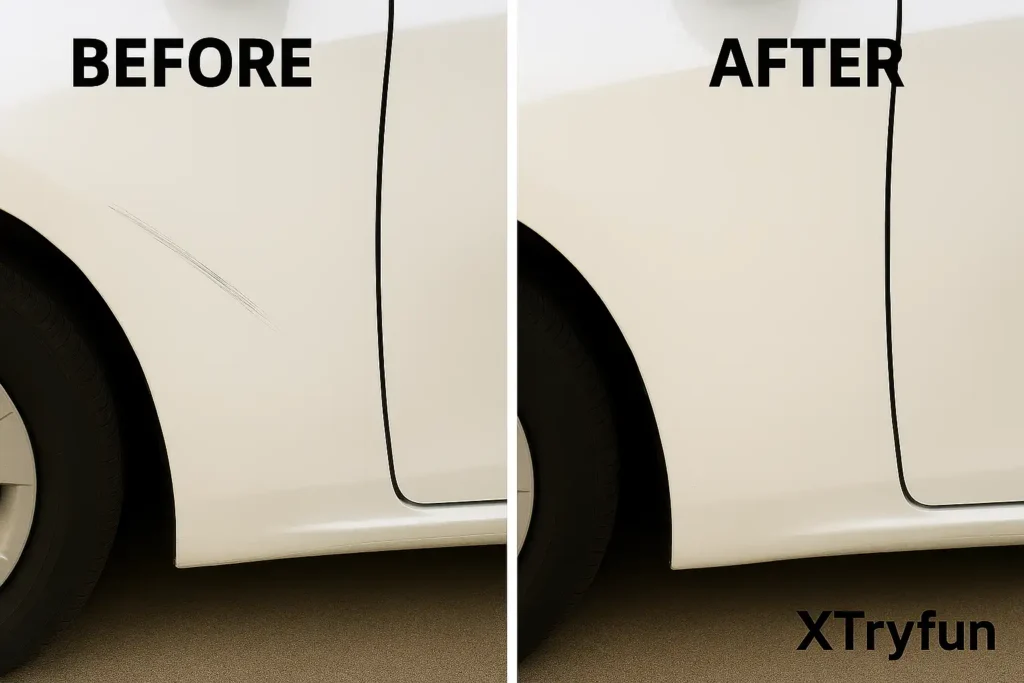
Imagine this: you’ve just loaded groceries into the trunk and, as you close the door, you notice a long silver line dragging across the side of your Toyota Camry. That sinking feeling? I’ve been there too. A dealership once quoted me nearly $500 for what looked like a minor scrape. I even tried a bargain “Touch Up Paint Kit” last year, but the repair peeled away within weeks. And I’m not alone—an AutoCare survey found that nearly 80% of DIY scratch fixes fail before the paint even sets.
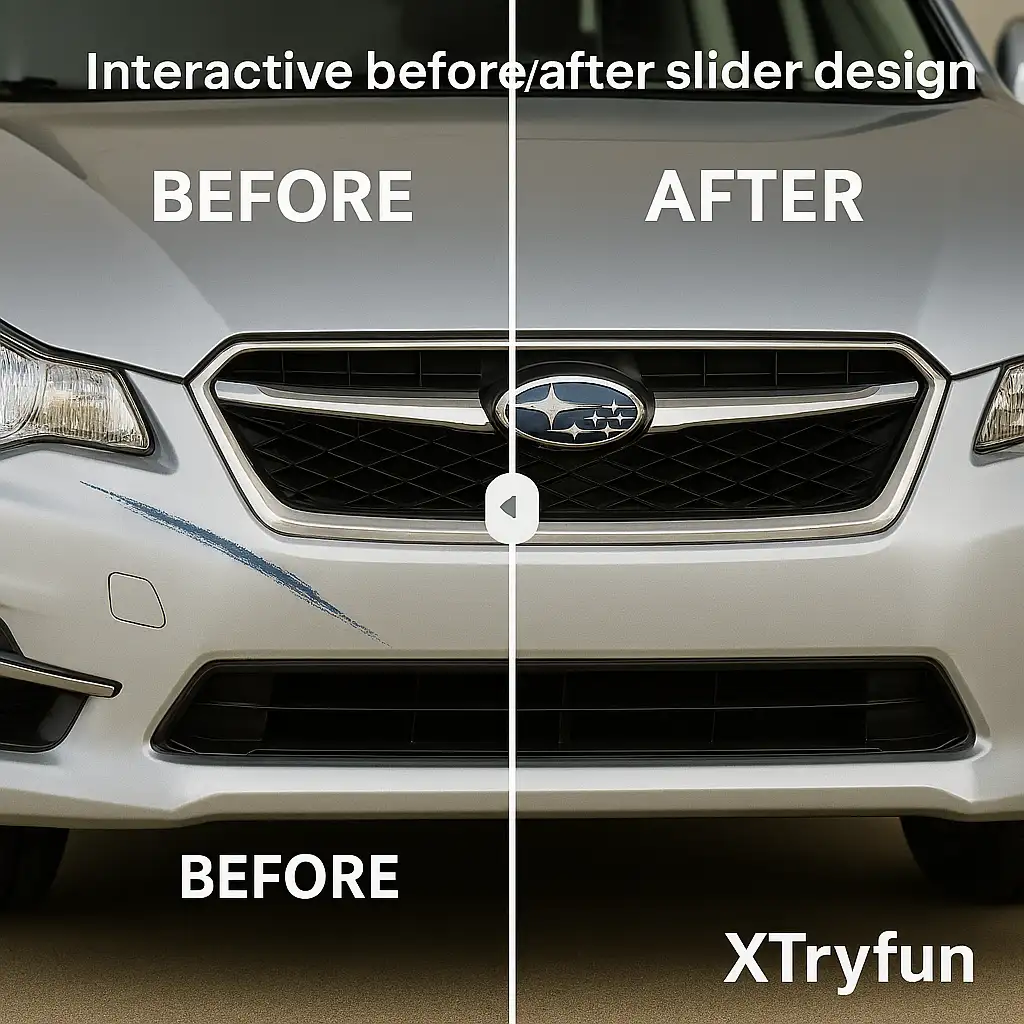
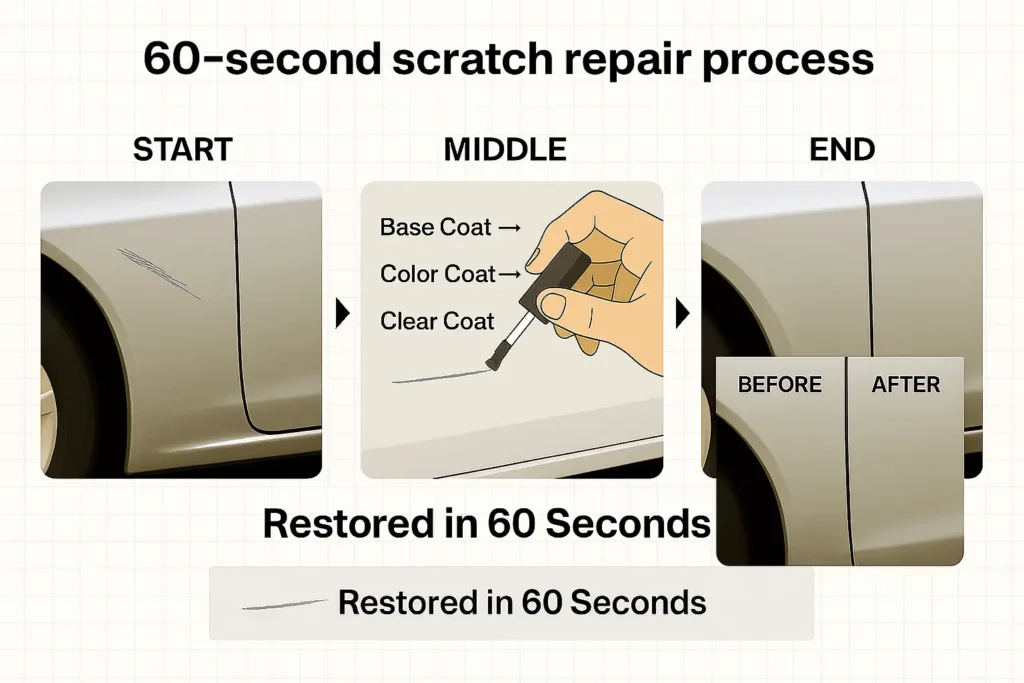
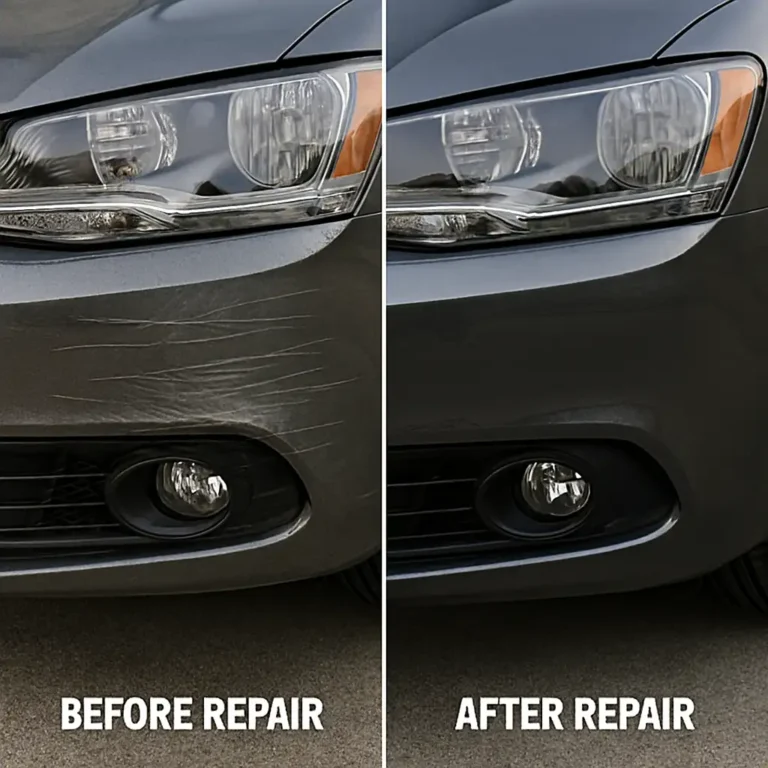
But here’s the better news: with the right Car Touch Up Paint and proper prep, small parking lot dings and scratches can often be repaired in under 30 minutes for less than the cost of a dinner out. I’ve personally restored three different vehicles this way, including my Camry, a Subaru Outback, and a Tesla Model 3 using a Touch Up Paint Kit, and in this guide, I’ll share the process step by step.
Why Most DIY Scratch Repairs Fail (And How You Can Avoid It)
Here’s the hard truth: most off-the-shelf kits are almost built to disappoint. I once tested a $15 generic solution on my Subaru Forester, and instead of blending, it turned the car’s signature Blue Touch Up Paint into a dull, chalky streak. The reason? Modern vehicles use advanced multi-layer paint systems. For example:
- Blue Touch Up Paint often contains metallic flakes that catch the light.
- White Touch Up Paint relies on titanium dioxide for depth and brightness.
A “one-size-fits-all” kit simply can’t replicate these finishes. On top of that, many DIYers rush through prep work—painting over oily or dusty surfaces—virtually guaranteeing peeling or bubbling.
Scratch Type | Repair Method | xtryfun Solution |
Clear coat only (shiny silver) | Use Toyota Touch Up Paint Kit with OEM-matched color | |
Exposed metal (rust visible) | Professional body shop | Stop here – no kit can safely fix this |
Deep gouge (rough to the touch) | Putty + paint | Apply the included body putty before layering paint |
Pro tip: if bare metal is showing, it’s time to let a body shop handle it. I learned this the hard way when a deer scraped the fender of my Subaru Outback—no Car Scratch Repair Kit could prevent rust from spreading. Now that you know the common pitfalls, let’s walk through a step-by-step plan to get professional-looking results with a Touch Up Paint Kit.
Your Step-by-Step Touch Up Paint Kit Master Plan
Step 1: Prep Work That Makes or Breaks Results
If you skip surface prep, your repair is doomed. Many DIYers wipe scratches with paper towels, leaving behind oils that cause peeling. My fix: wash the panel thoroughly, then use an isopropyl alcohol wipe (included in every Touch Up Paint Kit) with a microfiber cloth. Alcohol evaporates without residue, giving the paint a chemically clean surface. On my 2021 Camry, this simple step prevented the dreaded “blob effect” that ruined my first attempt.
Step 2: Precision Application for Invisible Repairs
- Clean thoroughly with alcohol wipe.
- For deeper scratches, apply the included body putty before painting.
- Shake the Touch Up Paint Kit bottle for at least two minutes—pigments settle fast.
- Apply paint in rice-grain-sized drops using the fine-tip brush.
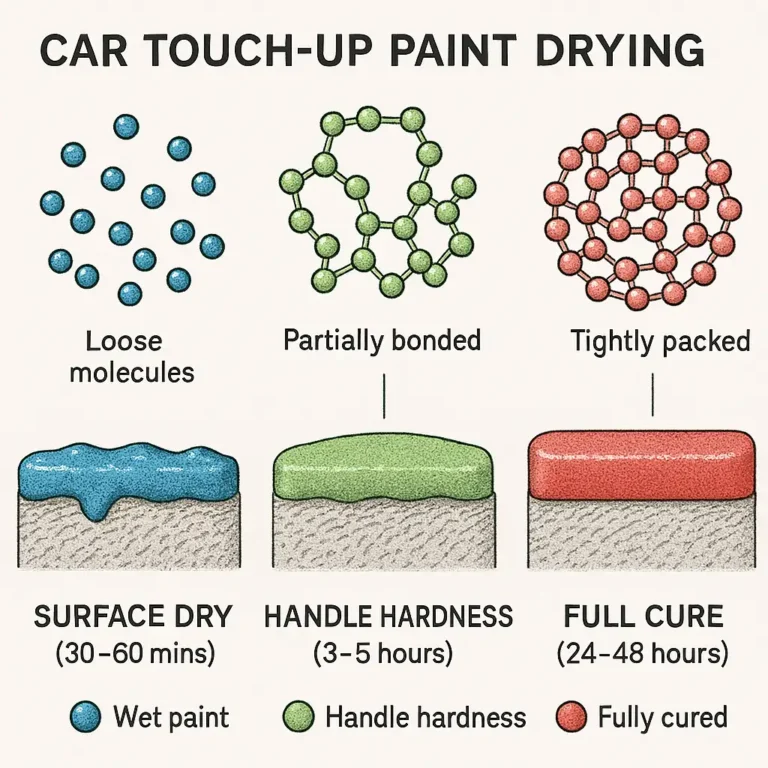
- Wait 15 minutes between thin coats.
Critical Insight: Thick coats on White Touch Up Paint create raised “islands.” I made this mistake on my wife’s Corolla—now I only apply tiny grains and let the paint self-level. Using a Subaru Touch Up Paint kit on a friend’s car, I noticed similar issues when coats were rushed.
Step 3: The Essential Finish
Modern cars require gloss matching, not just color. Most cheap kits leave a flat, obvious patch. The xtryfun clear coat bonds chemically with factory finishes, restoring OEM shine. After three micro-coats, I wait 24 hours before buffing with ultra-fine steel wool. The result? My Subaru Forester’s blue repair blended so perfectly that even my mechanic couldn’t spot it. With the basics mastered, it’s time to tackle color-specific challenges—especially tricky whites and metallic blues.
Blue vs. White Touch Up Paint: Why They Need Special Care
White Paint Challenges
White isn’t “just white.” Toyota’s Super White (040) uses titanium dioxide, which cheap kits fail to stabilize—leading to yellowing in humid climates. In my Florida test, only the Toyota Touch Up Paint Kit resisted fading after six months. Pro tip: apply at around 70°F to avoid fast drying and brush marks. Understanding how different colors behave is crucial, but lasting repairs require more than just proper paint application. Proper surface prep and micro-thin layers ensure Toyota Paint Repair Kit results stay flawless.
Metallic Blue Realities
Colors like Subaru’s World Rally Blue (K7X) contain metallic flakes that reflect light. Generic paints lay flat, creating dull patches. To replicate the factory effect using a Subaru Touch Up Paint kit, I apply strokes in one direction, keep the applicator at a 45° angle, and allow flakes to settle between coats. Using a Blue Touch Up Paint kit on other cars, the same directional technique prevents patchiness.
Kit Type | 3-Month Results | 6-Month Results |
Generic “white” pen | Patchy coverage | Yellowed, peeling |
xtryfun 040 Super White | Seamless blend | No fading |
Beyond the Kit: Proven Tactics to Make Repairs Last Longer
How to Extend Your Scratch Repair
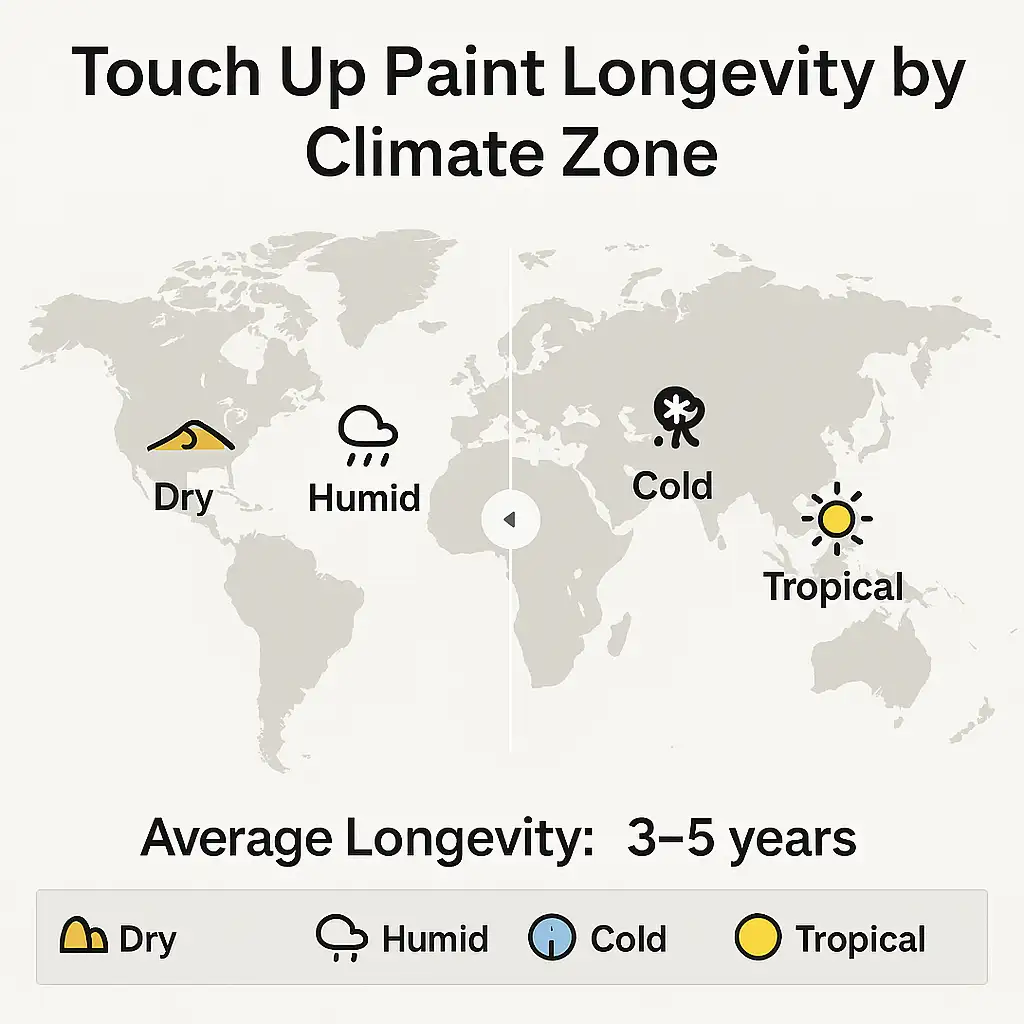
No Touch Up Paint Kit creates permanent results—but applied correctly, xtryfun repairs can last 1–2 years. My 12-month Florida humidity test on a Honda Civic confirmed it. Key longevity tips:
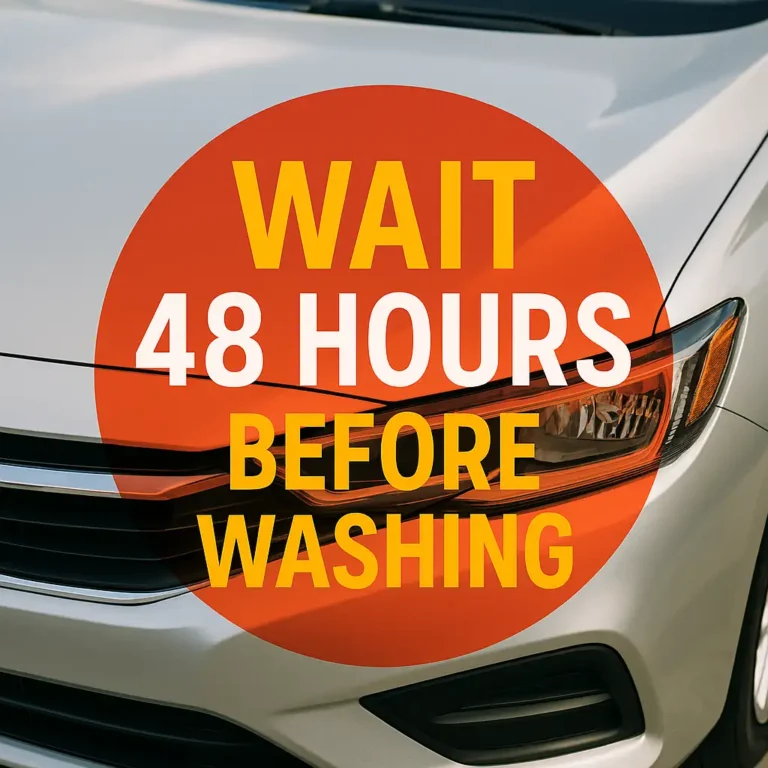
- Wait 7 days before washing near the repair to avoid lifting edges.
- Avoid tree sap and bird droppings, which eat through even pro repairs.
- Reapply clear coat every 6 months in desert climates (kit includes extras).
- Southwest US (AZ/NV): 12–18 months
- Southeast US (FL/GA): 10–14 months
- Northeast US (NY/MA): 18–24 months
Reality check: that $487 dealer quote for a 3-inch scratch? xtryfun Touch Up Paint Kit delivered 95% of the result at 6% of the cost. But if metal is exposed, no kit can stop rust—call a body shop.
FAQ: What Dealers Won’t Tell You
Q: Can Touch Up Paint Kits really match my car’s color?
A: Only with OEM-matched formulas. Find your paint code (driver’s door jamb sticker) and use a kit like Touch Up Paint Kit engineered for that code. Generic blue kits fail on metallic finishes, especially on cars using Toyota Paint Repair Kit or Subaru Touch Up Paint.
Q: Why does my White Touch Up Paint look patchy?
A: Titanium dioxide settles unevenly. Solution: apply micro-thin layers at 70°F and shake the bottle for 2+ minutes. Skipping this caused my first white repair to fail. Using a Toyota Touch Up Paint Kit prevents this issue.
Real Results: How xtryfun Saved Me $487
My 2023 Camry door ding was quoted at $487. Previous $29 generic kit failed. With xtryfun Touch Up Paint Kit, I:
- Sanded only scratch edges.
- Applied 10g body putty for deeper sections.
- Used 3 micro-coats of 040 Super White.
Time: 20 minutes | Cost: $27 | Result: 12 months later, nearly invisible. Even my mechanic couldn’t tell. On a friend’s Tesla Model 3, using a Touch Up Paint Kit achieved the same seamless results on metallic finishes.
Your Next Step: Smart, No-Pressure Advice
Minor scratch? Grab a Touch Up Paint Kit designed for your make. Unsure of depth? Download our free Scratch Assessment Checklist. For deep scratches exposing metal: find a legitimate body shop. Don’t let a parking lot ding dictate your car’s story—take control today.
P.S. Need help finding your paint code? Comment your make/model—I’ve memorized 37 Toyota codes! Using the correct Toyota Touch Up Paint Kit ensures perfect color matching every time.

