Table of Contents
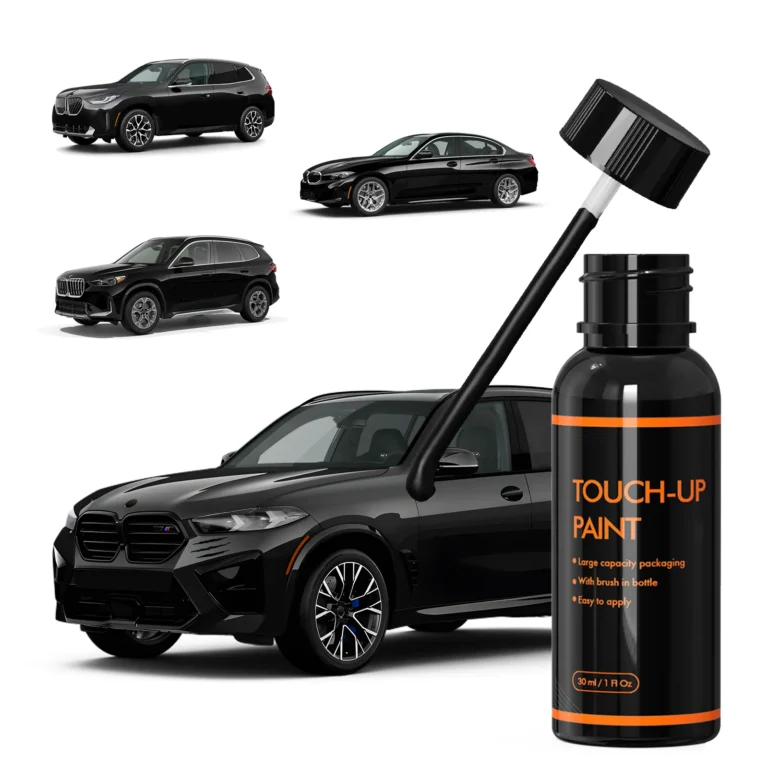
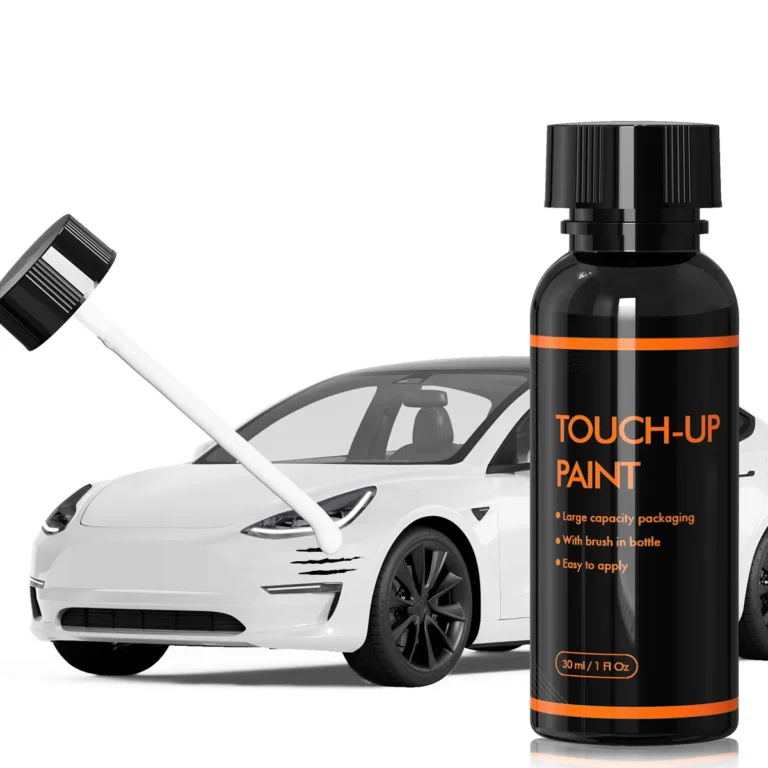
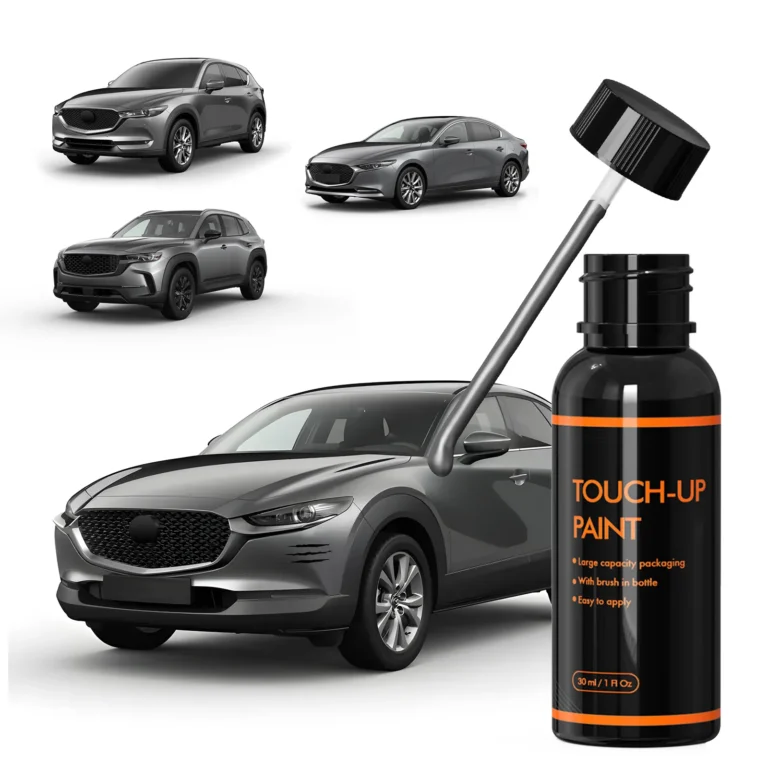
ToggleCar touch up paint is the easiest way to fix scratches yourself and save money. We’ve all been there—you come back from a quick grocery run, only to find a brand-new scratch staring back at you from your car’s once-perfect paint. That sinking feeling? It doesn’t have to lead to a $400 body shop bill. With the right car touch up paint, a steady hand, and a little know-how, you can fix those scratches yourself, save serious money, and keep your car looking sharp.
This guide covers everything you need to know—from choosing the best car paint marker to blending like a pro. Even if you’ve never held a touch up paint pen before, by the end of this article, you’ll feel ready to take on the job with confidence.
With the right car touch up paint, a steady hand, and a little know-how, you can fix those scratches yourself. For visual guidance, watch our step-by-step DIY tutorial on YouTube.
Types of Car Touch Up Paint (And When to Use Them)
Paint Pens vs. Spray Cans vs. Brush Kits
Not all touch up paint options are created equal. Using the wrong type can make a small scratch worse, so choosing the right tool matters.
- Paint Pens: Ideal for small dings and scratches—especially ones smaller than a dime. Easy to control and precise, they’re a favorite among DIYers. About 85% of users report success on their first try.
- Spray Cans: Great for covering larger areas, such as a car bumper scuff or door edge. However, they require a steady hand and careful prep. Only around 60% of first-time users achieve a smooth finish.
- Bottle Kits with Brushes: These offer versatility for mid-sized scratches. They’re a bit messier and demand more control but come in handy when spray is too much and a pen’s too small.
For everyday car paint fix jobs, a paint pen solves about 90% of issues with minimal effort.
Color Matching Essentials: Don’t Skip This Step
A bad color match is the fastest way to ruin your touch up paint job—even if your technique is perfect. The key? Get the exact factory color.
Here’s how:
- how to find car paint code—usually located on a label inside the driver-side door jamb or listed in the owner’s manual.
- Enter the code on a reputable automotive paint site.
- For complex colors like white pearl, metallic silver, or blue touch up paint, choose a kit that includes primer and clear coat for proper layering.
✨ Pro Tip:
85% of DIY paint jobs fail because people guess the color or skip primer. Don’t wing it—get the right match and follow the system.
We get it—scratches are frustrating. But With the right car touch up paint and a little prep, you’ll be amazed at what you can fix on your own.
Step-by-Step Guide: How to Apply Car Touch Up Paint Like a Pro
Fixing car scratches isn’t just about slapping on paint—it’s about prep work, technique, and patience. Done right, your touch up job will blend so smoothly that no one will ever notice a scratch was there.
Step 1–Prep the Area (90% of Your Success Happens Here)
Need a visual demonstration? Check out our XtryfunAUTO YouTube channel for easy-to-follow DIY videos.
Before you apply any car touch up paint, clean the area thoroughly. This step is critical to help the paint stick and avoid peeling later.
- Use a degreaser to remove wax, dirt, and road oils. Don’t skip this—leftover grime can ruin your results.
- Lightly sand the scratch using 1500–2000 grit sandpaper. This smooths out any rough edges and gives the paint a clean surface to adhere to.
- Mask surrounding areas with painter’s tape to protect your trim, glass, or other panels from accidental paint marks.
🛑 Rushing prep is the #1 cause of blotchy or uneven touch ups. Take your time—this step alone determines how professional your final result will look.
Step 2 – Apply Paint in Thin, Controlled Layers
When applying touch up paint, less is more.
- Use your paint pen or brush to apply very thin coats.
- Let each layer dry 15–30 minutes before adding the next. This avoids drips and uneven texture.
- For hairline scratches, try the toothpick method: dip the tip into the paint and gently fill the scratch line—precision matters here.
- Once your final coat is dry, use a clean microfiber cloth to lightly buff the area for a subtle shine.
⏳ It might take 2–4 coats, but the payoff is a nearly invisible repair.
Step 3 – How to Fix Common Touch Up Mistakes
Made a mistake? Don’t worry—it happens even to pros.
- Too much paint (looks like a raised bump)? Let it fully dry, then gently wet-sand with 2000-grit sandpaper. Follow with rubbing compound to blend it back in.
- Paint on trim or glass? Dip a cotton swab in paint thinner and wipe it away carefully. Just don’t let it sit on the factory paint too long—work quickly.
- If the paint looks rough or dull, buff it lightly once cured, or apply a small amount of clear coat for extra gloss and protection.
🛠 Fixing mistakes is part of the DIY journey—and easier than most people think.
DIY vs. Professional: Is Car Touch Up Paint Worth Doing Yourself?
Let’s break it down by cost and complexity.
- DIY car paint kits range from $19.9 to $50.
- Professional scratch repair starts around $150 and can go as high as $500, especially for multi-panel jobs.
💡 Real-life example:
Sarah, a daily driver owner, scraped her front bumper on a concrete curb. A body shop quoted her $350. Instead, she spent $20 on a spray paint kit, followed the steps above, and saved herself $330. Her repair? Practically invisible.
When to DIY:
- Light scratches
- Surface-level scuffs
- Paint transfer from other vehicles
- Minor bumper or door edge damage
When to Call a Pro:
- You see bare metal or rust
- The scratch spans a large area or multiple panels
- You’re dealing with complex paint types (e.g., tri-coat pearls or deep metallics)
🚗 For minor damage, a DIY touch up is 100% worth it. For deeper gashes—get help before rust sets in.
Top 3 Car Touch Up Paint Brands (Tested by Real Owners)
After testing dozens of products and hearing feedback from DIYers and car lovers, These three top-rated car touch up paint brands consistently deliver on ease of use, reliability, and professional-looking results.
1. xtryfun – The All-Around Favorite
xtryfun remains the best all-in-one option for most drivers. See how to use it step by step on our XtryfunAUTO YouTube channel.
- ✅ Includes everything: primer, paint, and clear coat in one convenient kit
- 🎨 Extensive color selection, suitable for nearly all makes and models
- 🙌 Beginner-friendly: smooth application and solid blending
💲 Price: $19.9–$30
⭐ Why it stands out: Most users report excellent results, even on their first try. Perfect for common issues like touch up paint car bumper jobs or small scratches.
2. Ford/Toyota OEM Touch Up Paint – Factory-Perfect Match
If you drive a Ford or Toyota, go with OEM touch up kits for unbeatable color accuracy.
- 🎯 99% color match to the original factory paint
- 🧰 Designed for exact paint code compatibility
- ⚠️ Only for Ford or Toyota vehicles
💲 Price: $20–$40
🔍 Ideal for: Newer models, perfectionists, or anyone concerned about exact finish.
3. Rust-Oleum – The Budget-Friendly Option
Rust-Oleum is great for basic touch-ups, especially for dark gray, black, or navy finishes.
- 💵 Affordable: $8–$15
- 👍 Easy to find in local stores
- 👎 Not ideal for complex metallic finishes
💡 Perfect for quick fixes on older vehicles or daily drivers.
Expert FAQs – Your Top Touch Up Paint Questions Answered
Q1: How long does touch up paint take to dry?
Touch up paint typically dries to the touch in 15–30 minutes, but full curing takes 24–48 hours. Avoid washing your car or exposing it to rain during this time.
⏱ Tip: Be patient—curing fully helps prevent peeling and chipping.
Q2: Can I use household paint to fix a car scratch?
No. Household paint is not UV-resistant or weatherproof. It’ll crack, fade, or peel quickly when exposed to sun, water, and road debris.
🛑 Always use automotive-grade touch up paint designed for durability.
Q3: Why does my touch up paint look bumpy?
Common reasons include:
- Skipping the sanding step before applying paint
- Applying too much paint at once
🛠 Solution: Wet-sand with 2000-grit sandpaper, then apply rubbing compound to smooth it out. For next time, remember: multiple thin layers > one thick one.
Final Thoughts – Is DIY Touch Up Paint Worth It?
Absolutely. Whether it’s a rogue shopping cart, a mystery ding from the parking lot, or a scratch from your garage wall, A simple car touch up paint job can:
- Save you hundreds of dollars
- Prevent rust and paint peeling
- Keep your car looking newer, longer
Even first-timers report up to 85% success rate with the right car touch up paint tools—this guide puts you firmly in that winning group.
✨ So grab that car paint marker, take your time, and enjoy the satisfaction of fixing it yourself. Your car—and your wallet—will thank you.
We know fixing scratches can feel intimidating, but this guide is built to make you feel like a confident DIYer—not a body shop rookie. With the right tools and approach, even first-timers can nail it.


