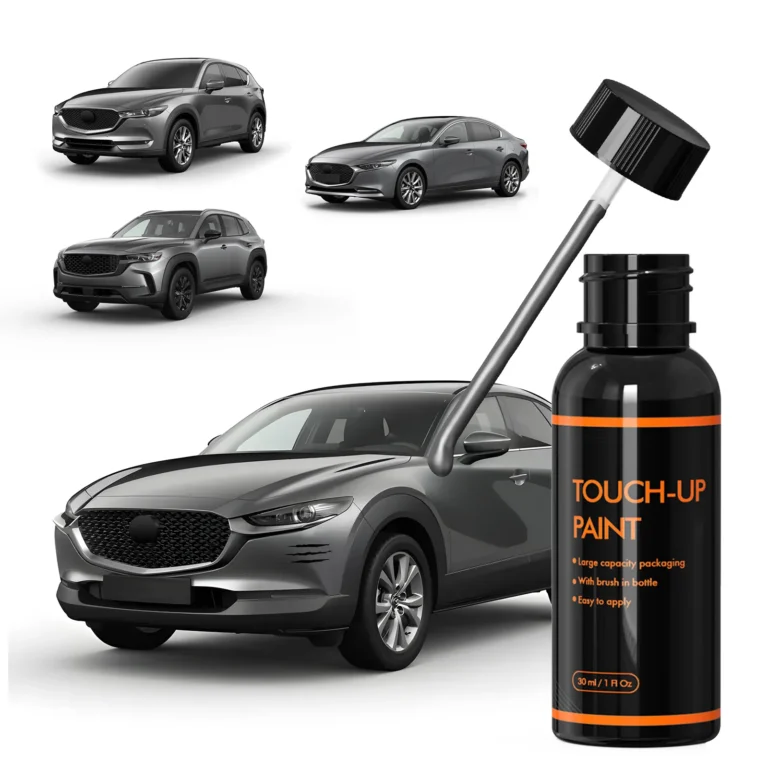
Introduction: Why Patchy Touch Up Paint is Frustrating
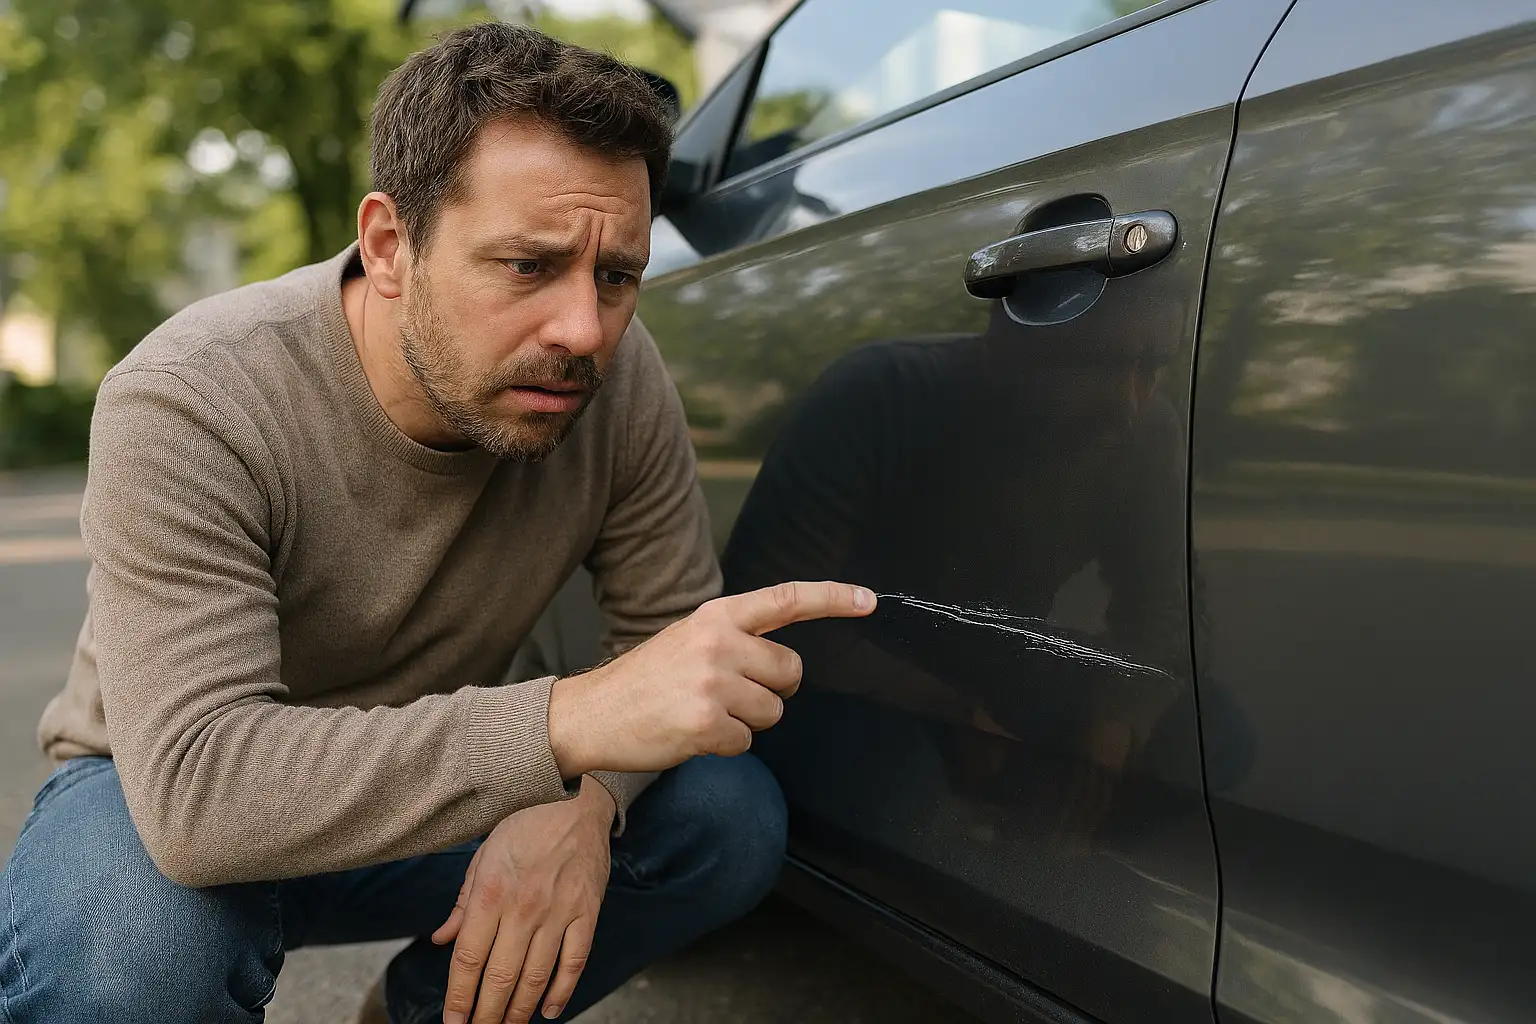
Many car owners, myself included, know the disappointment of finishing a touch-up repair only to find the paint looks uneven or patchy. Minor scratches on a door or small chips on a bumper can stand out more than they blend in, leaving the vehicle looking less than perfect. Studies show that over 60% of DIY car repairs using a touch up paint kit (xtryfun) face these uneven finish issues, and understanding why this happens is the first step to achieving a professional-looking repair.
This article will break down the reasons your touch up paint looks patchy, explore real-life examples, share expert DIY tips, and show how to get the most out of your touch up paint kit while avoiding common mistakes.
Why Your Touch Up Paint Appears Patchy
Patchy touch up paint is often caused by a combination of chemical, physical, and environmental factors. The paint’s composition—its pigments, solvents, and additives—can separate if not properly mixed. Surface tension on the chipped area can prevent smooth leveling, especially on metallic or dark paints. Temperature and humidity also play a major role: applying paint on extremely hot, cold, or humid days can lead to uneven drying, leaving visible streaks or clumps.
Different types of vehicle paint react differently. For instance, acrylic-based paints may dry faster but are more prone to streaking, whereas urethane-based paints offer smoother finishes but require careful layering. Even subtle differences in car paint codes—like mazda touch up paint, nissan paint touch-up, or chevrolet touch up paint—can make patches stand out. Understanding these nuances helps ensure that your touch up paint kit performs optimally, even in tricky conditions.
Common Causes of Patchy Touch Up Paint
- Surface Preparation: Dirt, grease, or wax left on the surface prevents proper adhesion. Even a small amount of residue can make your touch up paint kit work less effectively.
- Application Technique: Thick coats or inconsistent brush strokes can cause streaks. Patience and using multiple thin layers is key.
- Environmental Factors: Humidity, temperature, and sunlight can affect drying time and the final appearance.
- Improper Mixing: Not shaking your touch up paint kit thoroughly may leave pigment clumps.
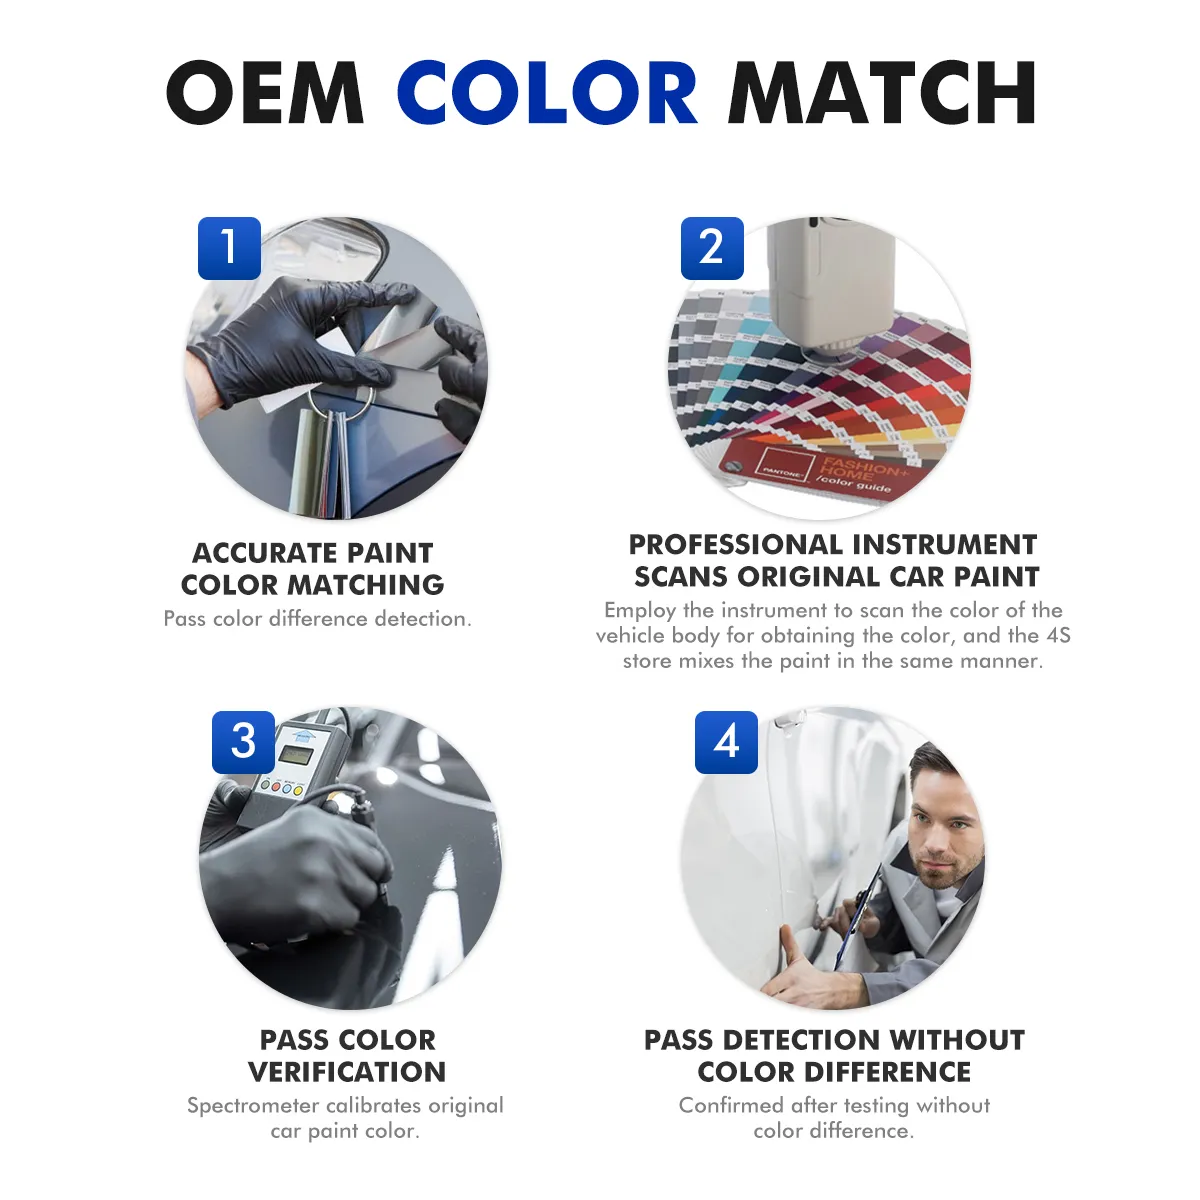
- Color Mismatch: Using a paint slightly off from the OEM color code will highlight imperfections. Always double-check the code before starting.
Case Studies: Real-Life Examples
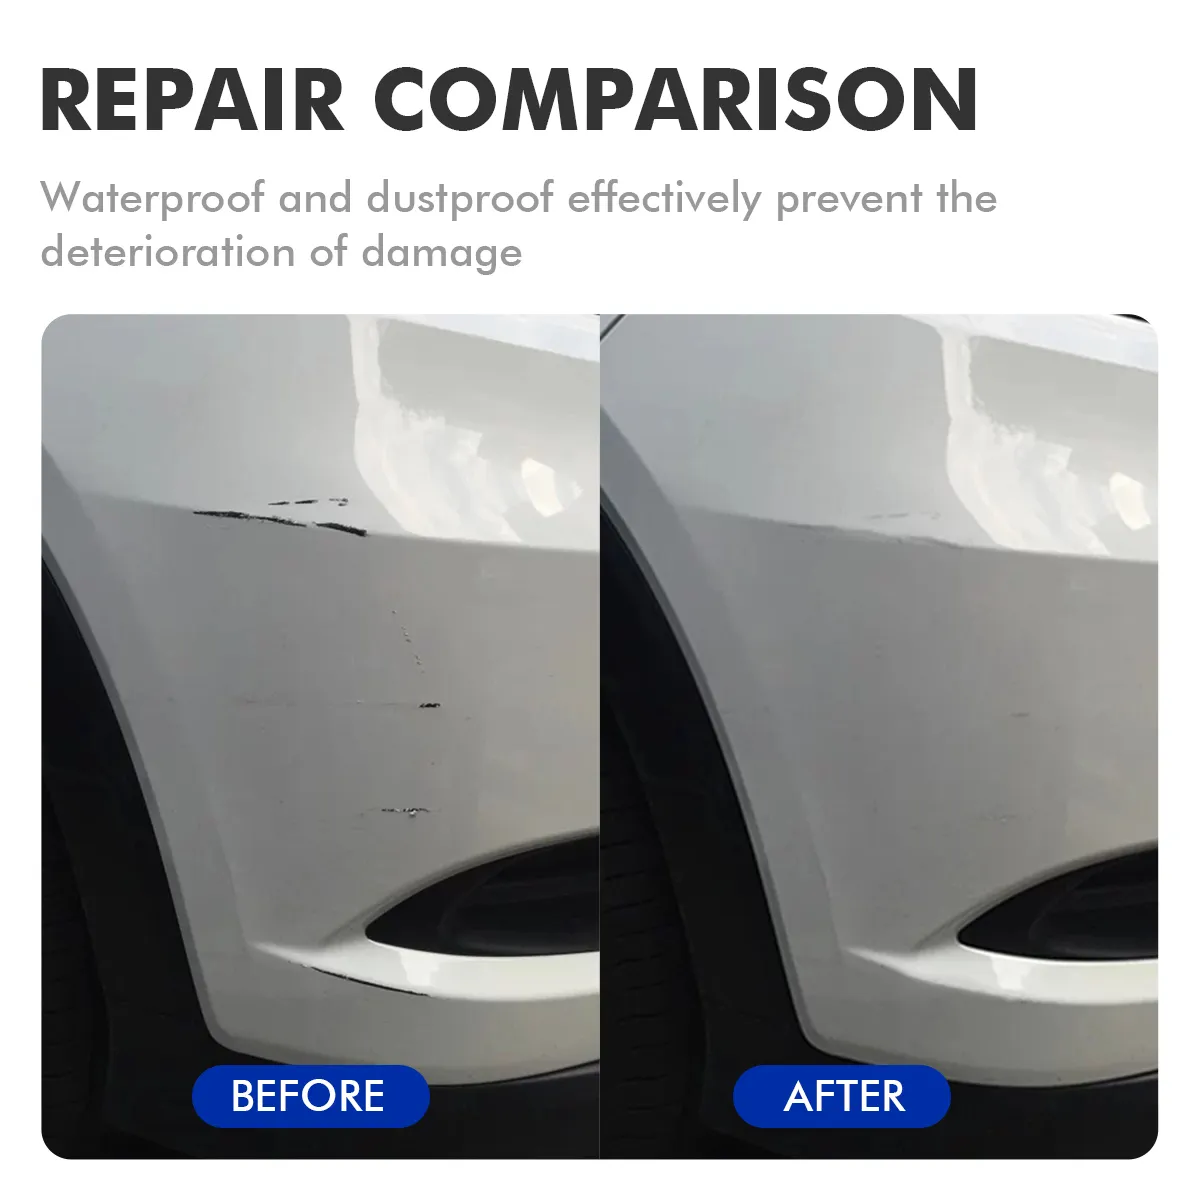
Consider a Nissan owner who applied a nissan paint touch-up kit to minor bumper chips. Without sanding the surface, the paint didn’t adhere evenly, leaving visible patchy spots. After light sanding, applying thin layers, and letting each coat dry, the result blended nearly perfectly with the original paint. This example highlights how patience and surface prep are critical.
Similarly, a Chevrolet owner using a chevrolet touch up paint experienced patchiness due to uneven temperature and rushed application. By following proper layer-building techniques and using a fine-tipped brush from their touch up paint kit, the finish became smooth and indistinguishable from the original finish. Adding a clear coat in the final step further protected the repair.
Tools and Materials That Make a Difference
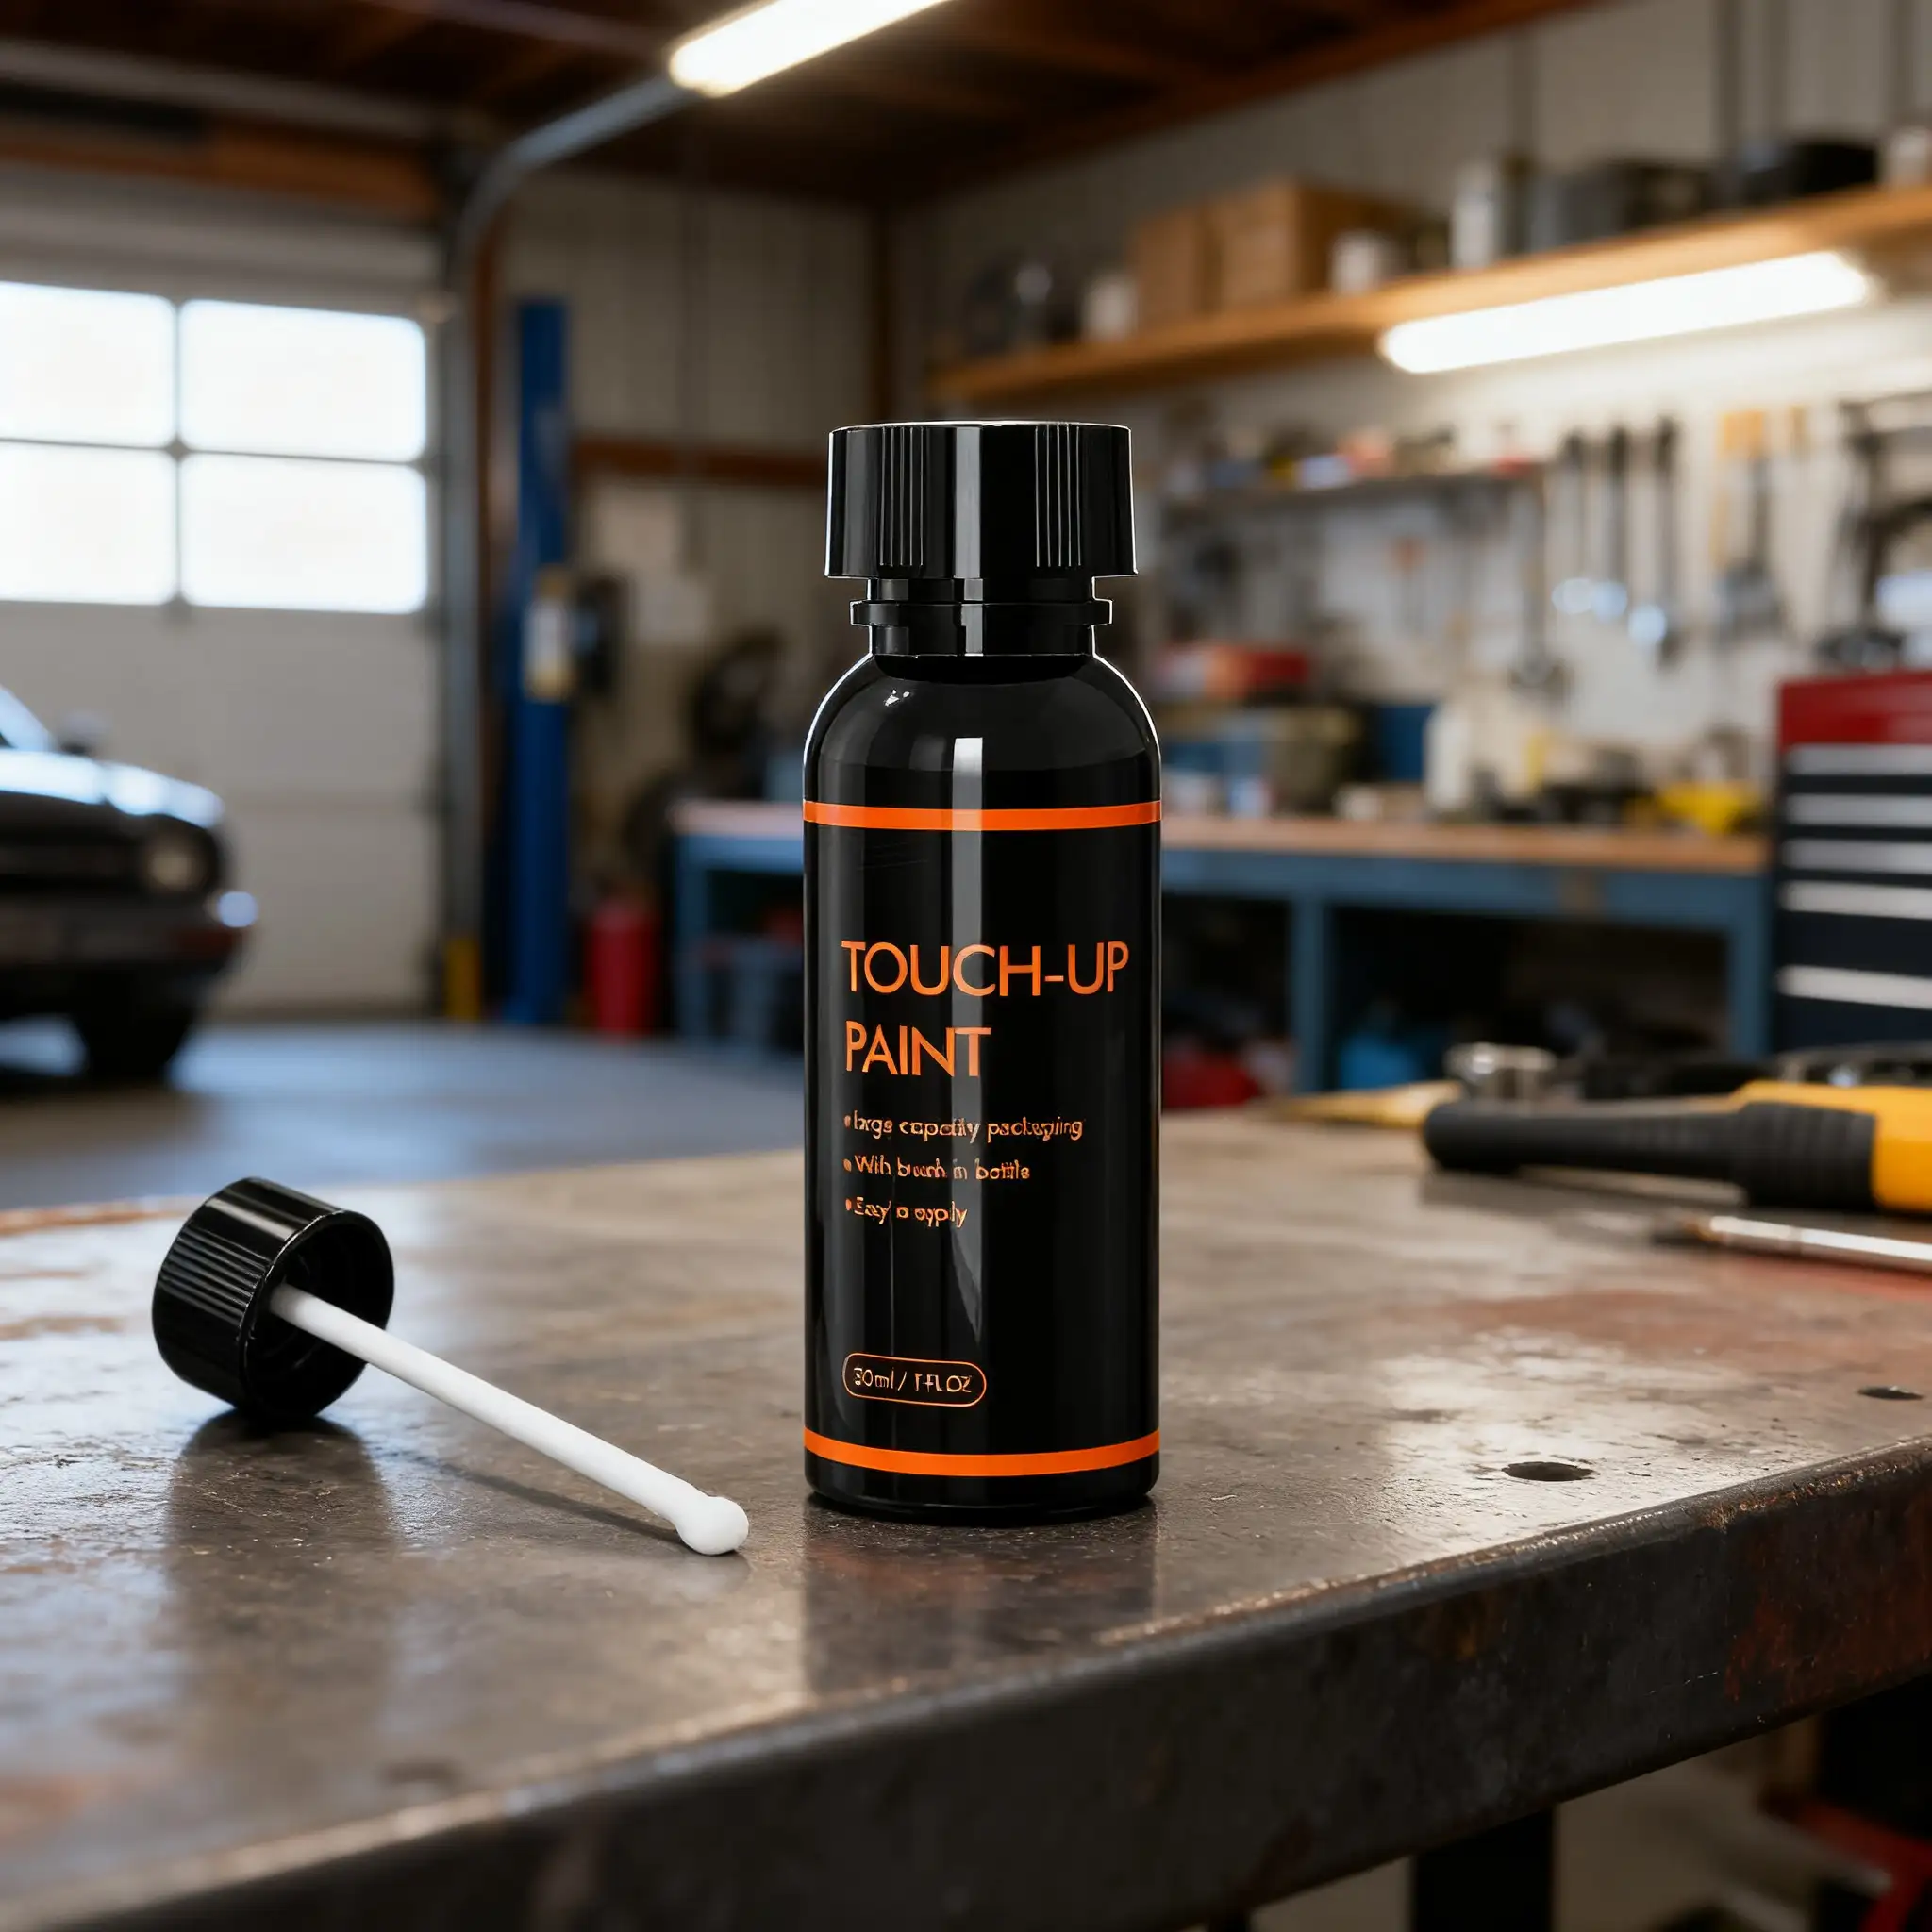
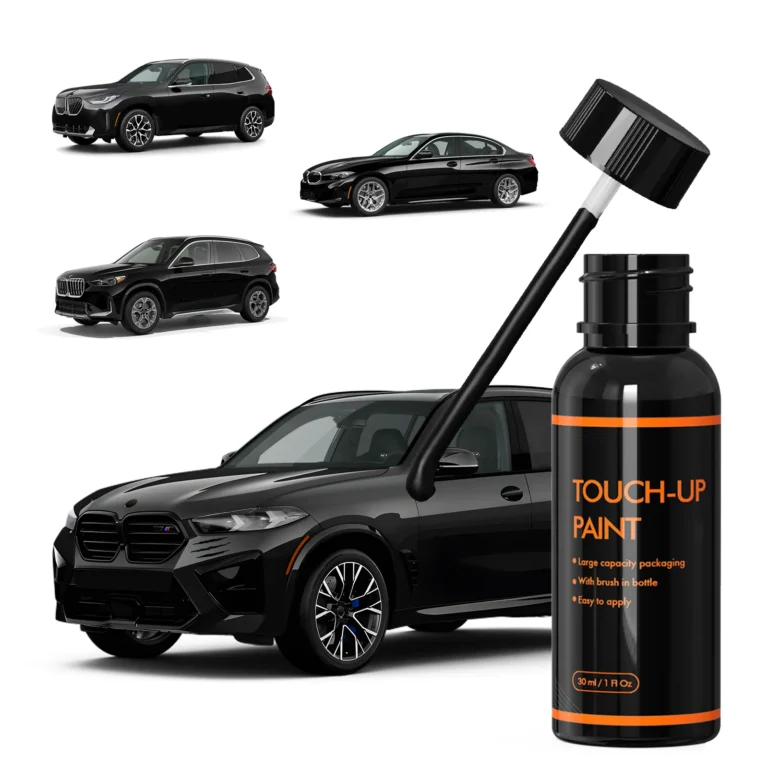
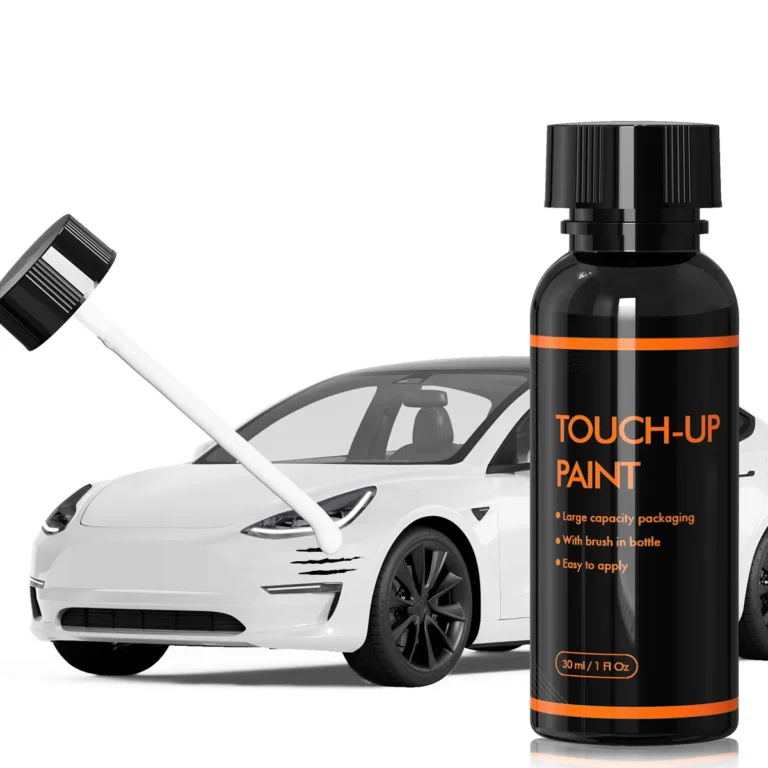
Using a high-quality touch up paint kit like xtryfun is essential for DIY repairs. Equally important are the tools: fine brushes, sandpaper, degreasers, and optional clear coat sprays. Tools that allow precision help control layer thickness and reduce streaking. For small chips, a fine brush or pen tip is recommended, while larger scratches may require a car scratch repair kit or vehicle scratch repair kit.
Additionally, using masking tape for edges or blending areas ensures that your touch up paint blends seamlessly with the surrounding paint. Properly cleaning and degreasing all tools before use also prevents contamination, which can affect final results.
DIY Tips to Achieve a Smooth Finish
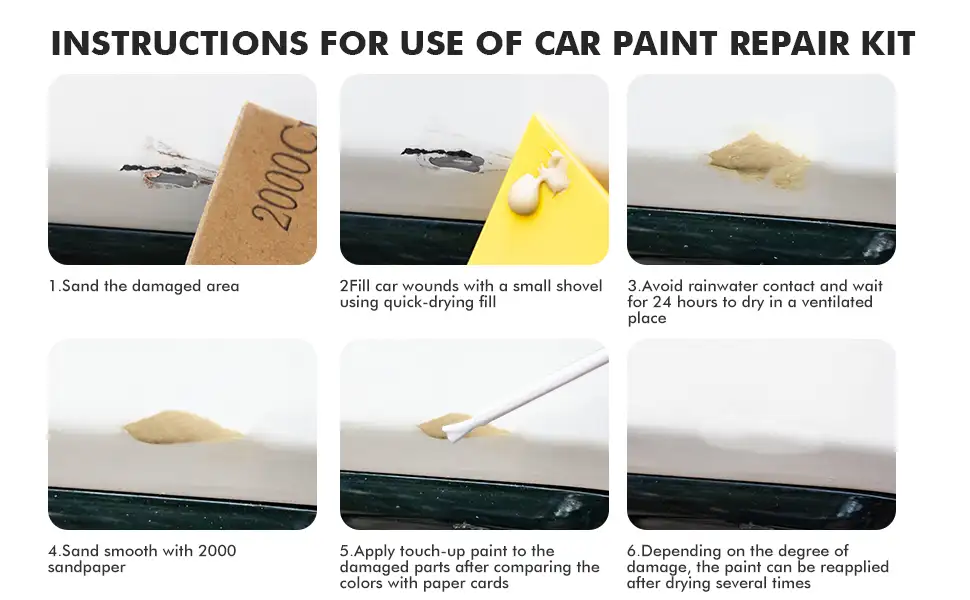
Preparation is key. Clean the chipped area with soap and water, then degrease to remove oils. Lightly sand with fine-grit sandpaper to improve paint adhesion. Shake the touch up paint kit thoroughly for at least two minutes before application.
Apply multiple thin coats, allowing each to dry completely. Start from the center of the chip and blend outward. Patience prevents streaking and uneven patches. Optional clear coat can help blend and protect the repair. For metallic finishes, lightly swirling the brush in a circular motion helps avoid brush marks.
Always test your technique on a small hidden area if possible, especially when using a new touch up paint kit or different color code. Adjust your brush or pen tip angle for best control over layer thickness.
Post-Repair Maintenance
After completing the repair, proper maintenance helps preserve your results. Regular washing, careful drying, and waxing reduce future scratches. Avoid harsh chemicals and direct sun exposure during drying. Long-term care ensures the patched area remains smooth and blends seamlessly with surrounding paint.
Consider applying a protective sealant once a month for heavily used vehicles. Keeping the car garaged when possible also extends the life of your touch up paint repair.
FAQ
Q1: Can I fix patchy touch up paint myself?
Yes, most patchiness issues can be fixed at home using proper surface preparation, thin layering, and color matching with a high-quality touch up paint kit like xtryfun.
Q2: How long should I wait between coats?
Wait 15–30 minutes between thin layers, depending on temperature and humidity. Rushing will increase the risk of uneven paint. Observing the drying process closely helps determine the right timing.
Q3: Can this technique work on deep scratches?
For deep scratches, a car scratches repair kit or professional blending may be needed, but the principles of cleaning, layering, and matching color still apply. Layering carefully and allowing sufficient drying time between coats improves results.
Ready to Fix Your Car Scratches?
With a high-quality touch up paint kit from xtryfun, you can make your vehicle look like new without expensive body shop visits. Grab your kit today and start repairing scratches smartly and easily! Remember, patience and proper technique are the keys to a flawless finish.

